

Quick start guide for Yoast SEO for Shopify
This quick start guide explains what Yoast SEO for Shopify does, how to access it, what to do first after installing it, and how to manage your account. If you have Yoast SEO AI+ for Shopify, it also explains how to set up Yoast AI Brand Insights.
What does Yoast SEO for Shopify do for you?
Yoast SEO for Shopify automatically handles many technical aspects of SEO, such as product-specific structured data, canonical URLs, and indexing your pages. You don’t have to touch any code: Yoast SEO for Shopify starts working as soon as you complete the First-time configuration.
Want to get hands-on with your content? The SEO analysis and readability analysis give you recommendations tailored to your keyphrases, to help your products stand out in search results. You can also set titles, meta descriptions, and images for your store, using variables, our AI Generate feature, or your own expertise.
If you have Yoast SEO AI+ for Shopify, you can also use Yoast AI Brand Insights to see how AI platforms such as ChatGPT, Gemini, Claude, and Perplexity describe your brand.
If you’re looking for more knowledge and support, you also gain access to the Yoast SEO Academy with courses on Shopify, ecommerce SEO, and much more. Running into problems? You can contact our Support team, available 24/7 to help you with questions about the installation and basic use of the app.
How to access Yoast SEO for Shopify
There are several ways to access Yoast SEO in Shopify.
How to access Yoast SEO via Apps
- In your Shopify admin, go to Apps
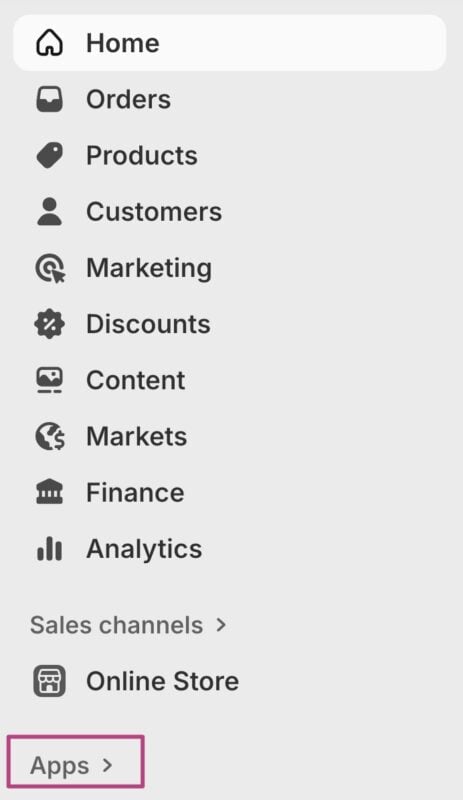
- Search for and go to Yoast SEO

How to access Yoast SEO via More actions
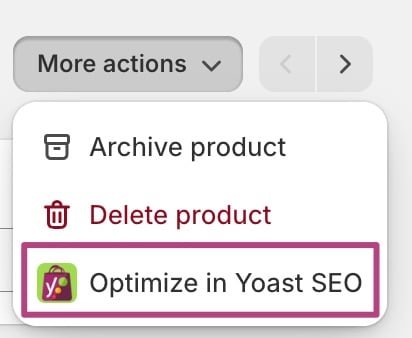
- In your Products or other pages, go to More actions

- Go to Optimize in Yoast SEO
How to access Yoast SEO via the Shopify sidebar
- In your Shopify admin, go to Apps
- Search for and go to Yoast SEO
- In the sidebar, pin Yoast SEO
The pin appears when you hover over the app.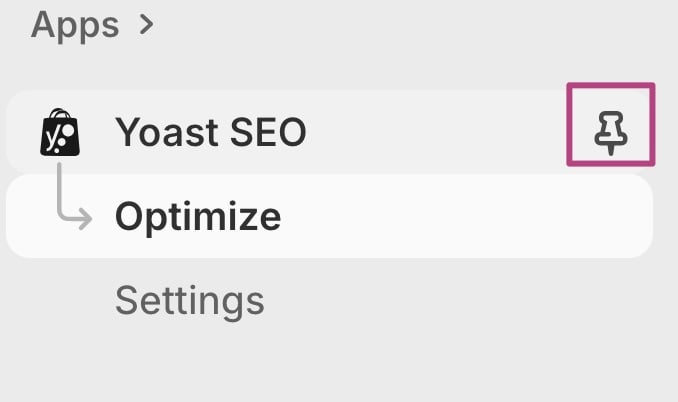
What to do first after installing Yoast SEO for Shopify
After you install Yoast SEO for Shopify and pin the app, follow the steps below to get the most out of it.
Complete the First-time configuration
You’ll be asked to complete the First-time configuration as soon as you install the app. If you skip it, you can find it later under Settings in Yoast SEO.
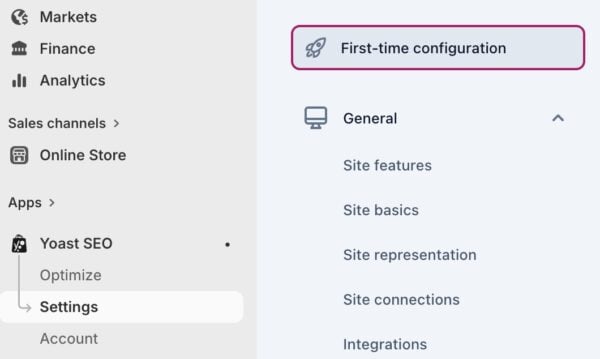
The first step of the First-time configuration is Theme integration.
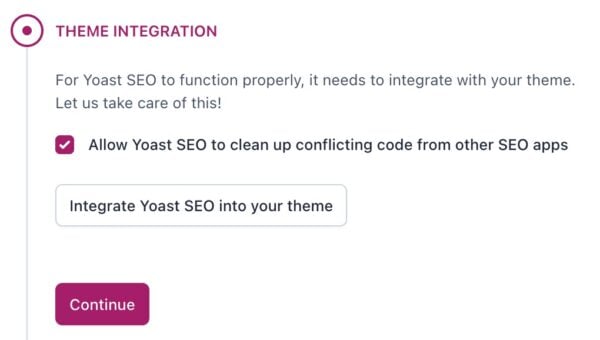
We make changes and additions to your store’s theme files. This optimizes technical SEO and connects our editing tools to the website’s output. Without the theme integration, Yoast SEO does not function properly.
The second step is to set up your Site representation.
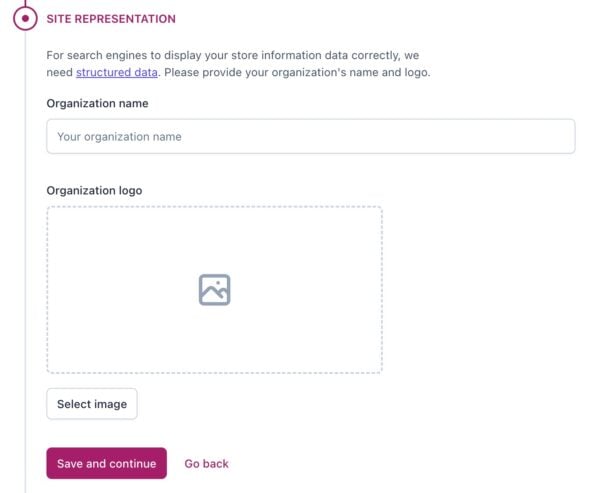
With these settings, you set up your Organization name and logo. This will allow us to output the correct structured data markup and explain your site to search engines. As a result, your site may feature in a Google Knowledge Panel.
The third step is to set up your Social profiles.
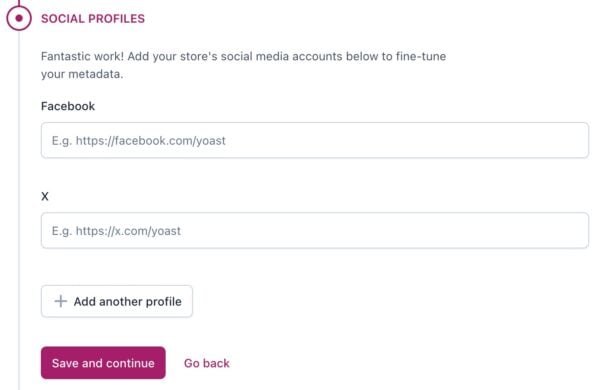
When you fill in your Social profiles, Yoast SEO tells search engines which social media accounts belong to your store. The standard options are Facebook and X, but you can also add profiles from platforms like Instagram, YouTube, LinkedIn, Pinterest, and more.
The last step is finishing the First-time configuration. Here, you can go straight to your Optimization overview, or import SEO data from other SEO apps.
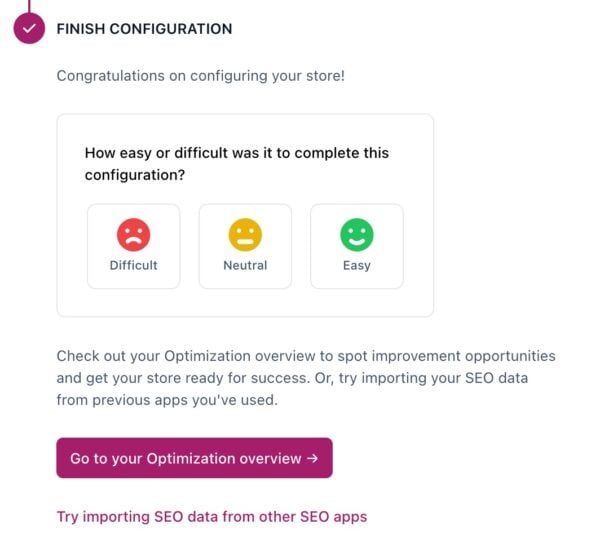
How to set up Yoast AI Brand Insights
If you have Yoast SEO AI+ for Shopify, you can use Yoast AI Brand Insights to see how AI platforms such as ChatGPT, Gemini, Claude, and Perplexity describe your brand.
- In the Yoast SEO sidebar, go to Optimize
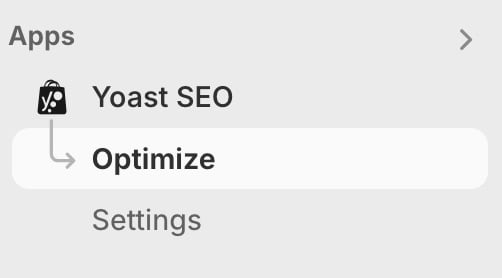
- On the AI Brand insights card, click the arrow
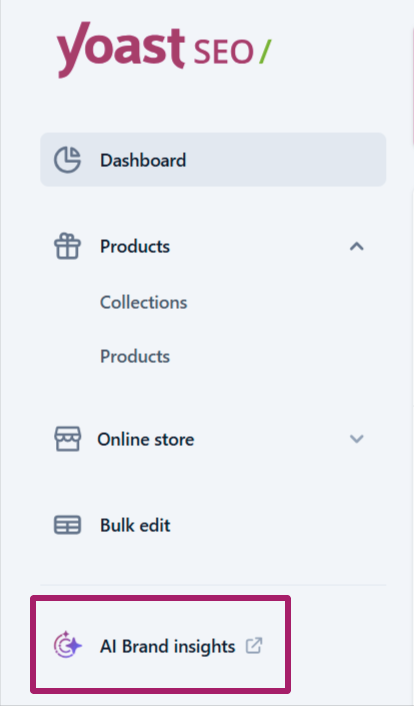
- Log into your MyYoast account
- Run your first analysis
Follow the steps from Start your first analysis in How to use Yoast AI Brand Insights.
Settings
You can find every setting explained in Yoast SEO for Shopify settings and account. To start with, we recommend completing the following steps.
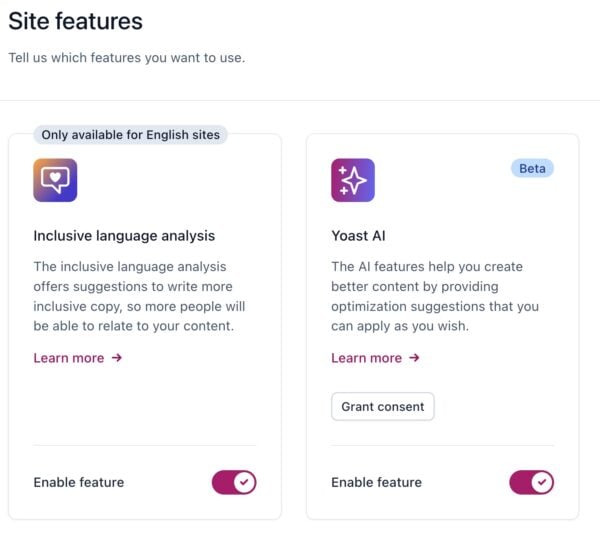
Under Site features, enable the Inclusive language analysis and Yoast AI features.
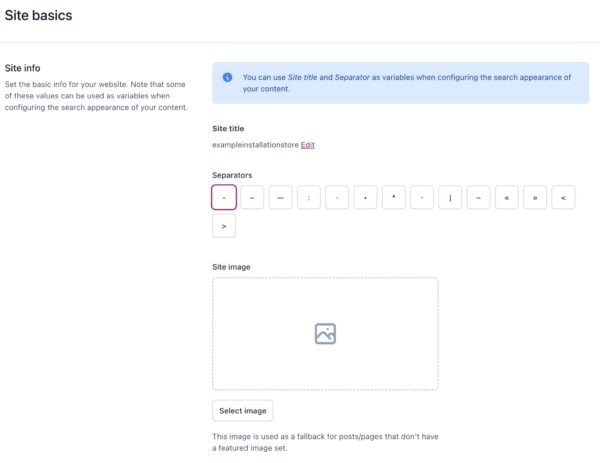
Under Site basics, set the Site title, Separators and Site images. This sets a default template for your site’s appearance in search engine results.
Under Site connections, click Start scan to connect your site to various webmaster tools. This finds any existing search engine verifications, or gives you instructions to set them up.

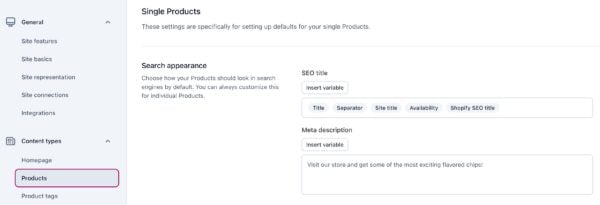
Under Content types, confirm that you’re happy with the variables chosen for the SEO title and meta description. These variables determine your content’s appearance in search results. If you leave these fields empty, our app will rely on data entered through Shopify.
If you want product reviews to appear in search results, you can use a compatible review app. Fera is officially integrated with Yoast SEO and Judge.me, Loox, Opinew, Ali reviews and Areviews are supported as well. Other review apps may work if they adopt Shopify’s standard metafield definition and do not duplicate the aggregate rating schema.
Optimize your products
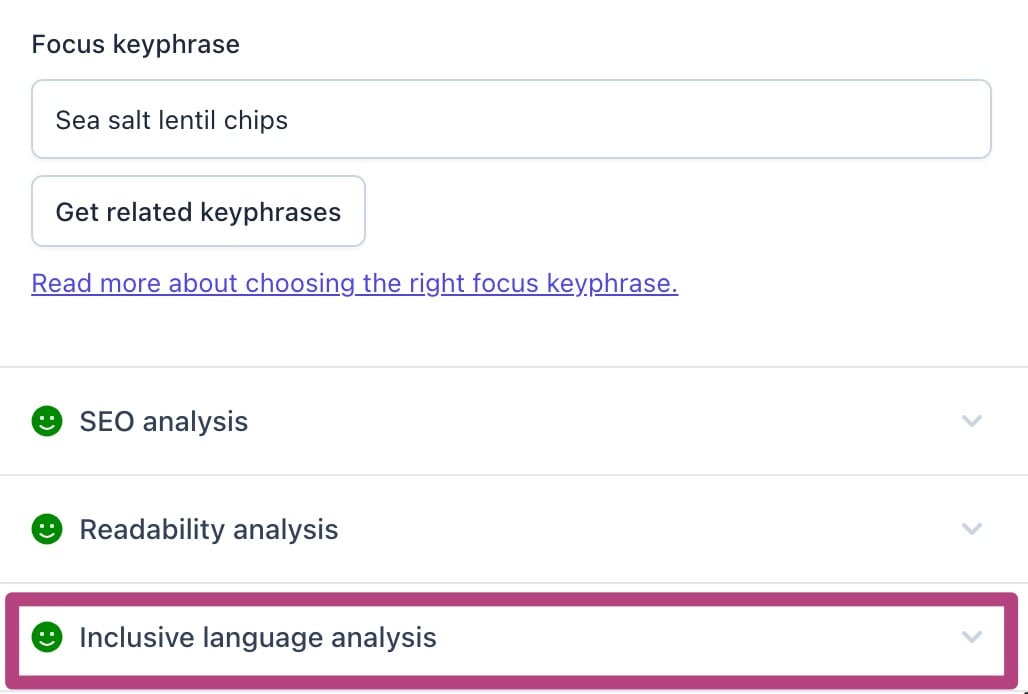
You can now start optimizing your products in the editor. For every product page, there are five things you should always do:
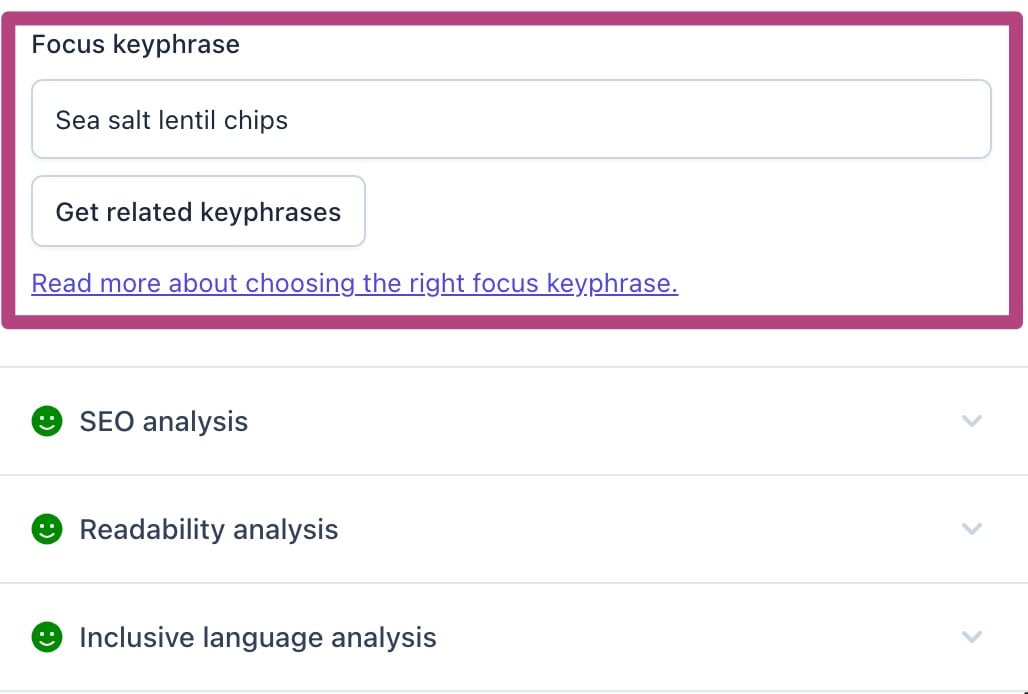
- Fill in your Focus keyphrase; this is the keyphrase that you’d like to be visible for.
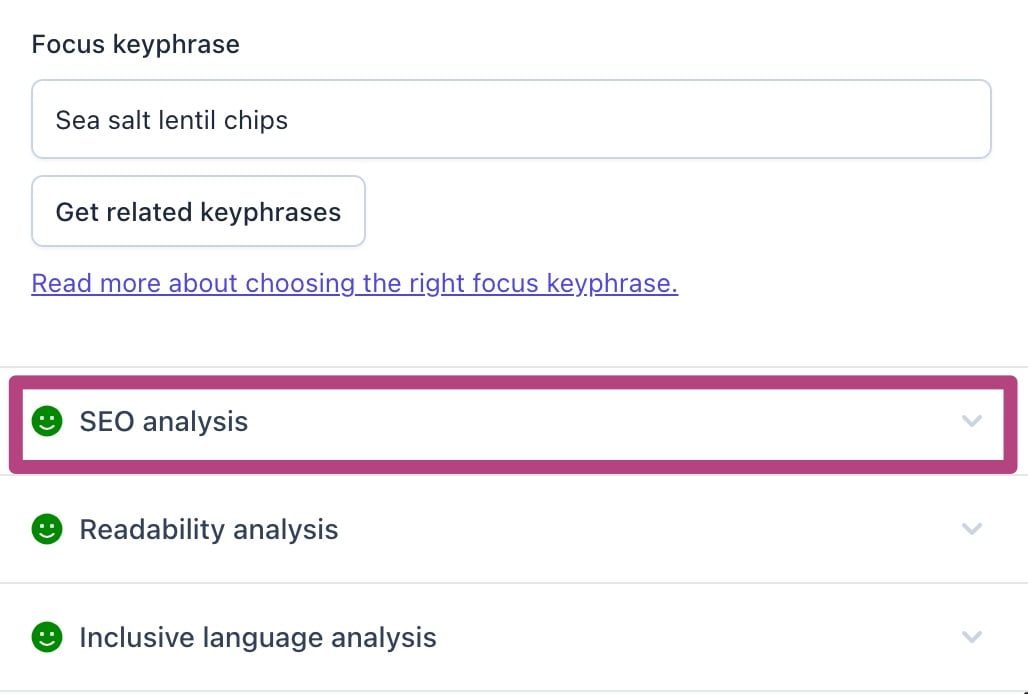
- Make your product page SEO-friendly with the recommendations under the SEO analysis.
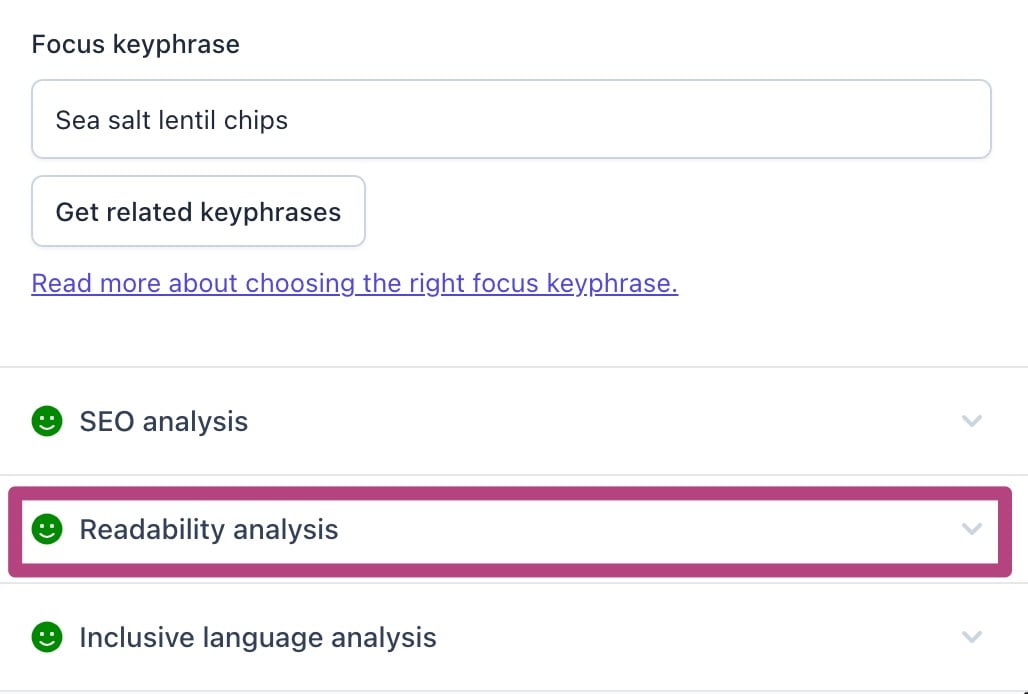
- Make the content of your product page readable with the suggestions under the Readability analysis.
- If you activated this, you can also check if your content is inclusive with the Inclusive language analysis.
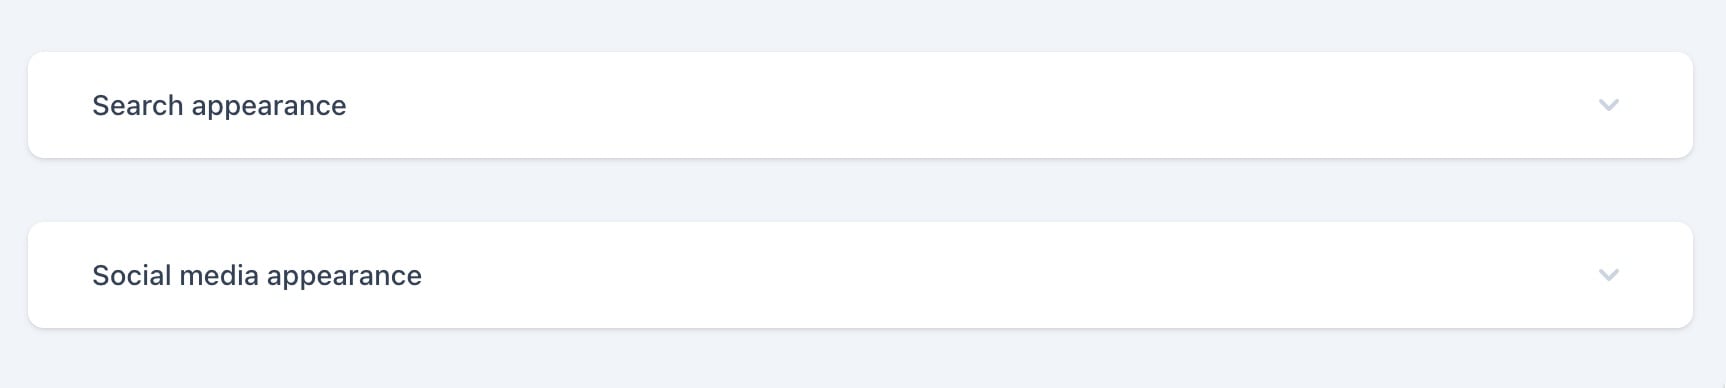
- Optimize your SEO title and meta description in the Search appearance and Social media appearance sections.
Bulk editing
To edit items in bulk, export a CSV file with all your SEO metadata, edit it, and import it back into Yoast SEO. You won’t see updated scores until you open each item in the editor.
Account management
How to switch to Yoast SEO for Shopify
Switching from another SEO app? How to switch to Yoast SEO for Shopify explains how to choose your plan and import your SEO data.
How to check your subscription
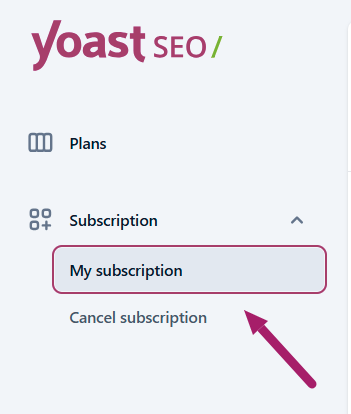
To see your plan, subscription status, and payment details, go to Account > My subscription in Yoast SEO. You can also confirm which plan you’re on here, and click Change plans to switch.
How to change your plan
You can move between Yoast SEO for Shopify and Yoast SEO AI+ for Shopify from the Yoast SEO app. Your new plan replaces your current subscription and starts straight away.
- In your Shopify admin, open Yoast SEO
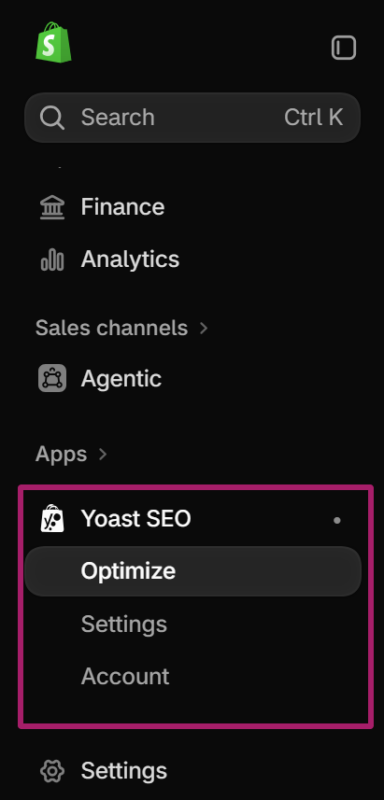
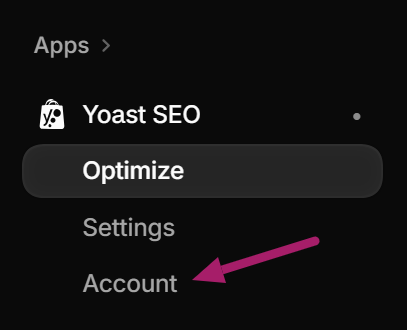
- Go to Account
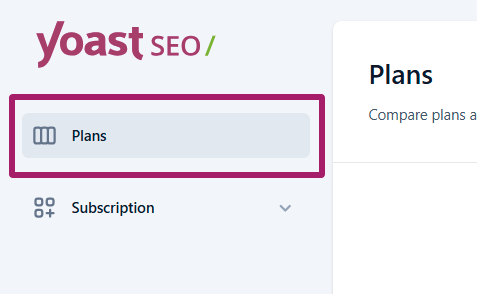
- Go to Plans
- Choose your plan
To move to Yoast SEO AI+ for Shopify, click Upgrade plan. To move to Yoast SEO, click Select plan.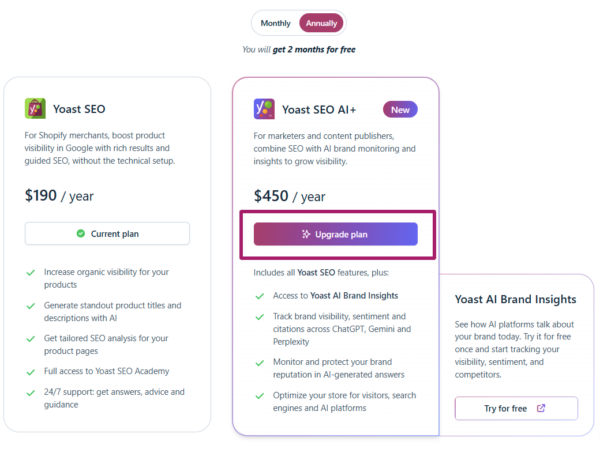
- Choose Monthly or Annually billing
You can do this in the window that opens. - Check I’ve read and accept the terms of service
- Click Continue to payment
- Click Approve
This confirms your new plan in Shopify.
If you moved to Yoast SEO AI+ for Shopify, set up Yoast AI Brand Insights with the steps in How to set up Yoast AI Brand Insights. If you moved to Yoast SEO for Shopify, you no longer have access to Yoast AI Brand Insights.
Uninstalling Yoast SEO
If you want to uninstall Yoast SEO, you’ll need to remove the changes the app made to your theme and delete the app to cancel your subscription. Follow the instructions in our article How to uninstall Yoast SEO for Shopify.
Will I lose any work if I uninstall Yoast SEO?
Uninstalling and deleting the Yoast SEO for Shopify app means losing any optimization made through the Yoast SEO app. For example, you’ll lose focus keyphrases, Schema output management, and any information in the Yoast SEO Settings. Content entered in the Yoast SEO meta boxes will also disappear. If you uninstall Yoast SEO, your content returns to relying on Shopify data, so if you used variables based on Shopify data, i.e. the Shopify SEO title and Shopify meta description, this information will be used.
If you have Yoast SEO AI+ for Shopify, you’ll also lose access to Yoast AI Brand Insights.
I have another question
Do you have other questions about your Shopify subscription? Check out the most frequently asked questions about managing your Yoast SEO subscription for Shopify. Can’t find an answer to your question? Contact our Support team via email or use the chat in the help beacon.

Get more traffic to your Shopify store
Yoast SEO gives you the tools to make SEO easy and grow your store’s organic traffic and sales.
Did this article answer your question?
Still having issues?
Try searching for your issue below