Last September, we released our first digital story; Diversity, inequality, and prejudice; a sociological exploration. This is the first in what will, hopefully, become a small series of stories that really define our mission, company culture, and broader vision. With these stories, we want to explore the possibilities the WordPress block editor has to offer for storytelling and creating rich interactive experiences.
You see, this kind of storytelling used to be really hard to do, and thus very expensive. There are some famous examples from renowned publishers like The Guardian’s NSA files and the New York Times’ Snowfall, but these could be classified as experiments or prestige projects. The rest of the world couldn’t afford the technology to regularly create this kind of rich content. With the advent of the block editor in WordPress and some help from the Advanced Custom Fields plugin, this has now changed.
In this post, I will take you through the customization we needed to do in order to end up with a framework for digital storytelling. Let’s take a look!
Do you want to learn how to use the blocks in the block editor to their fullest potential? Look no further and check out our free WordPress block editor training! It’ll teach you how to create a well-designed blog post with the block editor. Let’s create some amazing content!
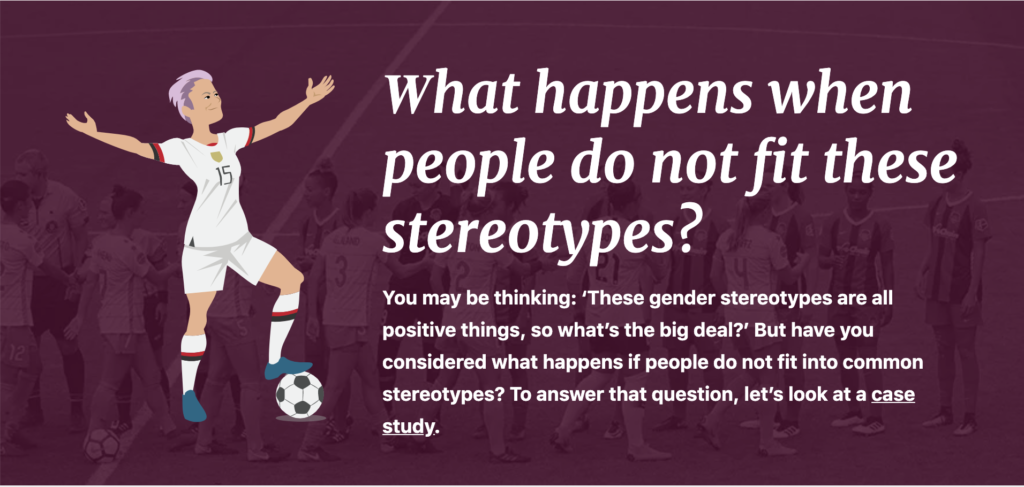
Surprisingly, the block editor is enough to create most of the sections in our story. Anything requiring a grid layout with a background color or even a background image is now easy to do in the block editor. Let’s look at the following example.
Have you ever tried creating this kind of section with the classic editor?
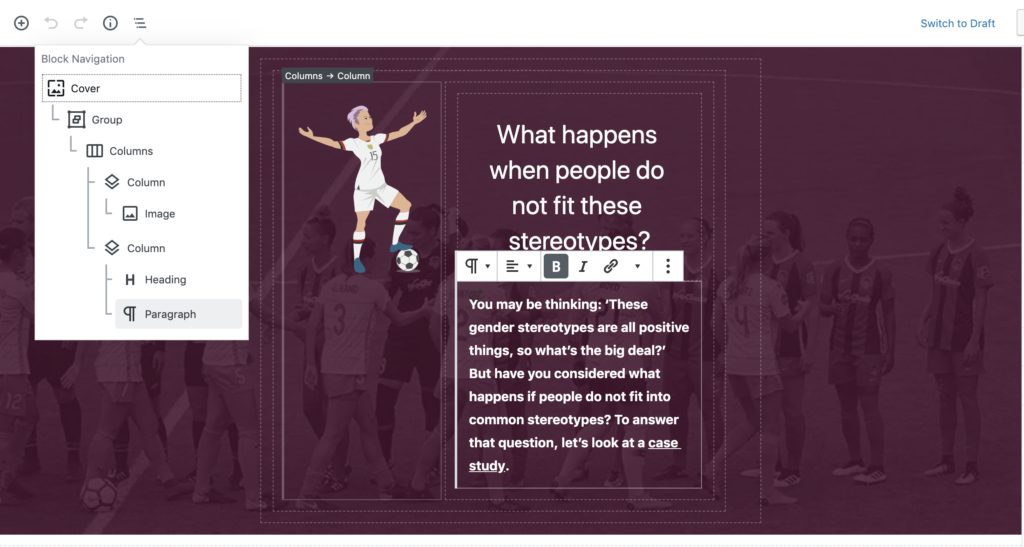
Now, let’s look at how that is edited in the block editor.
You see, the WordPress block editor lets us effortlessly create, understand and navigate this complex structure. It shows us exactly how the blocks are nested and it has made it really easy to edit this section on any desired level. The editor screenshot might not yet 100% resemble the example section, but all it takes now on the frontend is a little CSS and we’re done. Any WordPress developer could easily theme that!
Effortlessly build custom blocks with ACF
As you can see, most layout challenges can now quite easily be solved with the block editor. That layout can also be filled with rich content like video’s and images. But what if you need to do something more interactive? Let’s look at another example:
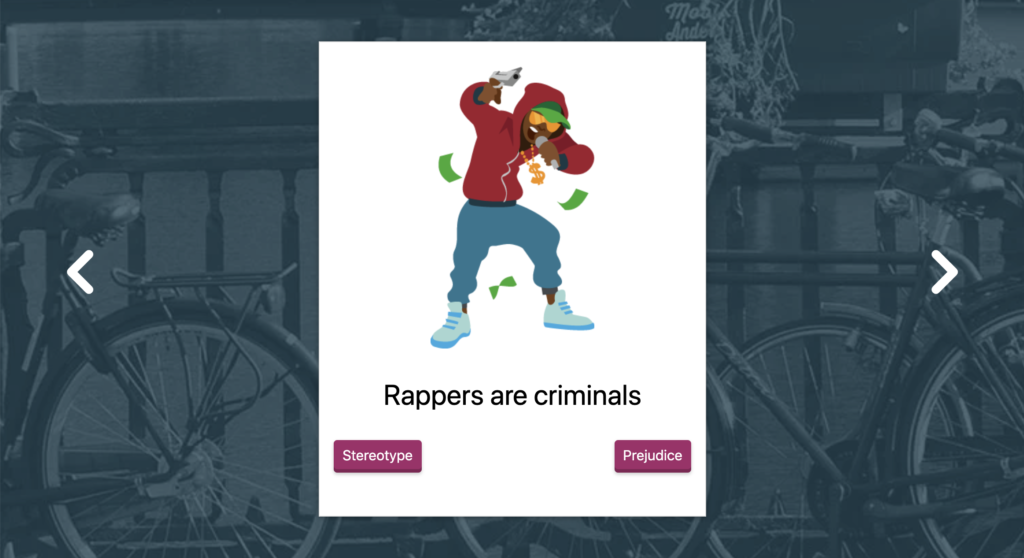
What you see above is a simple card game. The player gets a statement and is asked to make a binary judgment about it. In this case it is “Stereotype” or “Prejudice”, but you can also imagine the options would be “True” and “False”.
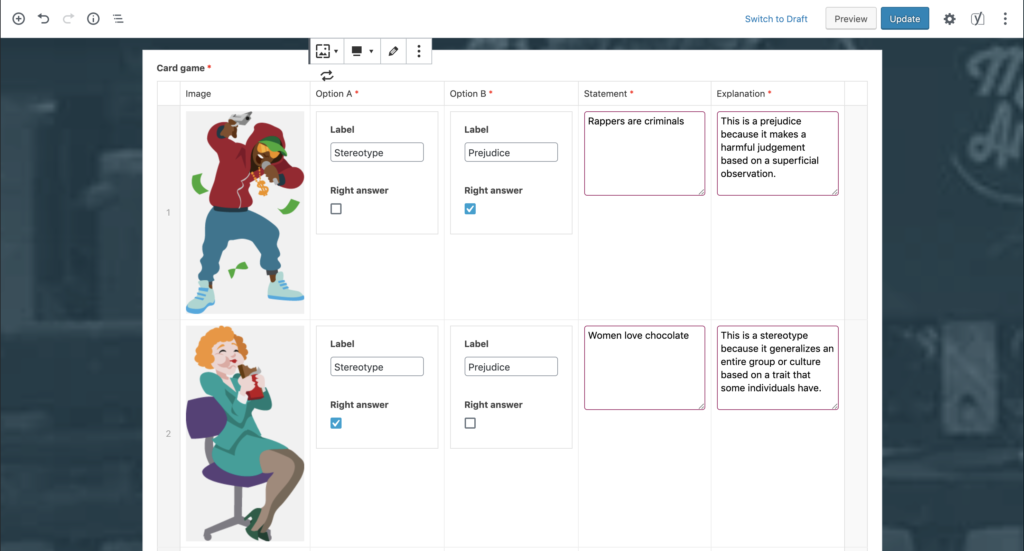
A digital card game like this would always require a custom solution. Fortunately, this kind of solution is a breeze to integrate with the block editor using Advanced Custom Fields blocks capabilities. All we had to do to achieve this is create a field group, register that field group as a block and create a block template for it. ACF then gives us a block with custom fields we can now use in our digital story. Learn how to create your own ACF blocks here.
Configuring this game is now a no-brainer.
Reusing the Yoast FAQ block
Another example of an interactive block is the Trivia game we’ve added.
The trivia block is used to present the reader with a question to which they can imagine the answer. When the reader is ready, they can click the “show answer” link to check what the correct answer is.
We first started out creating an ACF block for this. But then we figured that the block actually has the exact same characteristics as the Yoast FAQ block. It has one or more questions, with answers which optionally contain an image. The only thing that differed was the output on the frontend. It would be great if we could reuse the Yoast FAQ block for this, and we would get the FAQ schema for free!
Fortunately that proved to be quite simple. The function register_block_type allows you to make any block dynamic and register a render callback for it. That way you can override the template. Let me show you the code:
As you can see, in the render callback we get the block attributes and the original template. In case the page template is our storytelling template, we decide to generate different output and return it. Otherwise we just return the regular output for the FAQ block. Simple enough!
Getting the SVG animations to work
Recently, our illustrator Erwin has been experimenting with animating some of his awesome illustrations in Adobe After Effects. We figured it would be great if we could use these animations in our digital stories. It turns out you can export these animations in a JSON format in Adobe After Effects which can be parsed and rendered by a JavaScript library called Lottie.js.
Lottie can load any element with a “Lottie” class and a data-animation-path that points to the JSON, like this:
Whenever you run lottie.searchAnimations() on a page, it will then load all animations it finds on the page. We used regular image blocks to insert the animations into the page. We needed to do a few tweaks to get this to work.
1. Add JSON to the allowed MIME types.
In order for content editors to upload these animations to the media library, we needed to allow them to upload JSON files to WordPress. We’ve used the upload_mimes filter to make that work.
2. Make Image blocks dynamic
When an image block contains a JSON source, we need to alter the output to what Lottie.js expects. Here’s the code we wrote for that:
<?php
register_block_type( 'core/image', [
  'render_callback' => [ $this, 'filter_image_block' ],
] );

/**
 * Filters image blocks output to Lottie animations when applicable for storytelling pages.
 *
 * @param $attributes The block attributes
 * @param $template The block template
 * @return string The filtered block template
 */
public function filter_image_block( $attributes, $template ) {
	if ( is_page_template( 'page-template-storytelling.php' ) ) {
		$attachment_url = wp_get_attachment_url( $attributes['id'] );
		if ( preg_match('/.*?.json/i', $attachment_url ) ) {
			return output_lottie_animation( $attachment_url, false );
		} else {
			return $template;
		}
	}
	return $template;
}

/**
 * Outputs a div where Lottie can render an SVG animation.
 * Note: Make sure to call lottie.searchAnimations() in the JS of the page where this is rendered.
 * @link http://airbnb.io/lottie/#/web?id=other-loading-options
 *
 * @param string $network
 *
 * @return void | string
 */
function output_lottie_animation( $url, $echo = true ) {
	$output = '<div class="img">';
	$output .= '<div class="lottie" data-animation-path="';
	$output .= $url;
	$output .= '" data-anim-loop="true" data-anim-type="svg">';
	$output .= '</div>';
	$output .= '</div>';
	if ( $echo === true ) {
		echo $output;
	} else {
		return $output;
	}
}
3. Show the animations in the block editor
Ideally, an author can see the animations they add to a post in the editor itself. That, after all, is the idea of a WYSIWYG editor. We could hack the animation in with some very simple JavaScript:
What we do here, is filter the edit function of the core/image block. When we detect a JSON file is uploaded to the block, we render the animation in the block editor. It’s not perfect yet, since the block can no longer be edited once a JSON is uploaded to it. But it can still be removed and re-added. I admit this is somewhat of a hack in its current form and should be improved. But the result is quite magical. We’ve got animations rendering straight within the block editor, providing the author with a pretty accurate picture of what the page will look like on the frontend.
Conclusion
We built a digital storytelling framework, just by using the block editor, Advanced Custom Fields and Yoast SEO. We added a few tweaks here and there, but mostly this was a matter of writing CSS. It’s quite impressive what we could achieve here with relatively little effort and it seems the block editor is getting even better with every release of the Gutenberg plugin. The future of rich interactive content is looking bright!
We’re curious: did you make a website using the block editor? Feel free to share them with us in the comments!
Omar Reiss leads development at Yoast. He keeps track of the development processes and is responsible for the software architecture. His mission is to continuously deliver high quality software together with the Yoast development teams and the wider community of open source contributors.
June 26, 2026
Team Yoast is Speaking at Search ’n Stuff London Conference 2026! Click through to see who will be there, what we will do, and more!
See where you can find us next
25 June 2026
Looking to understand SEO? Our 'SEO for beginners' webinar covers fundamentals, keyword research, and practical tips to get started.
All Yoast SEO Webinars