How to reset the Yoast indexables
In Yoast 14.0, we introduced the so-called indexables. It’s a new, fast and efficient way that lets us gather data about your pages, optimize them and present the information to search engines. Unfortunately, the indexing may run into errors due to your site’s configuration. To ensure that the indexables work well on your site, there’s a quick and easy solution. In this article, we’ll explain how you can reset the Yoast indexables with the Yoast Test Helper plugin.
How to reset the Yoast indexables with the Yoast Test Helper plugin
Follow the steps below to install and use the Yoast Test Helper to reset the Yoast indexables.
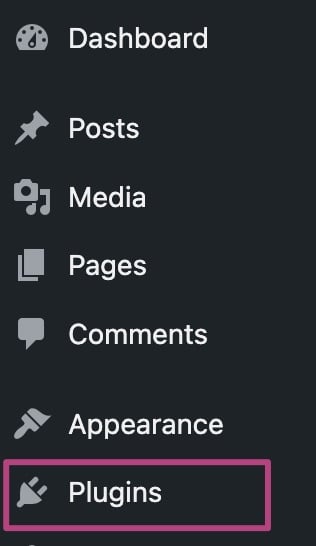
- In your WordPress Dashboard, go to Plugins
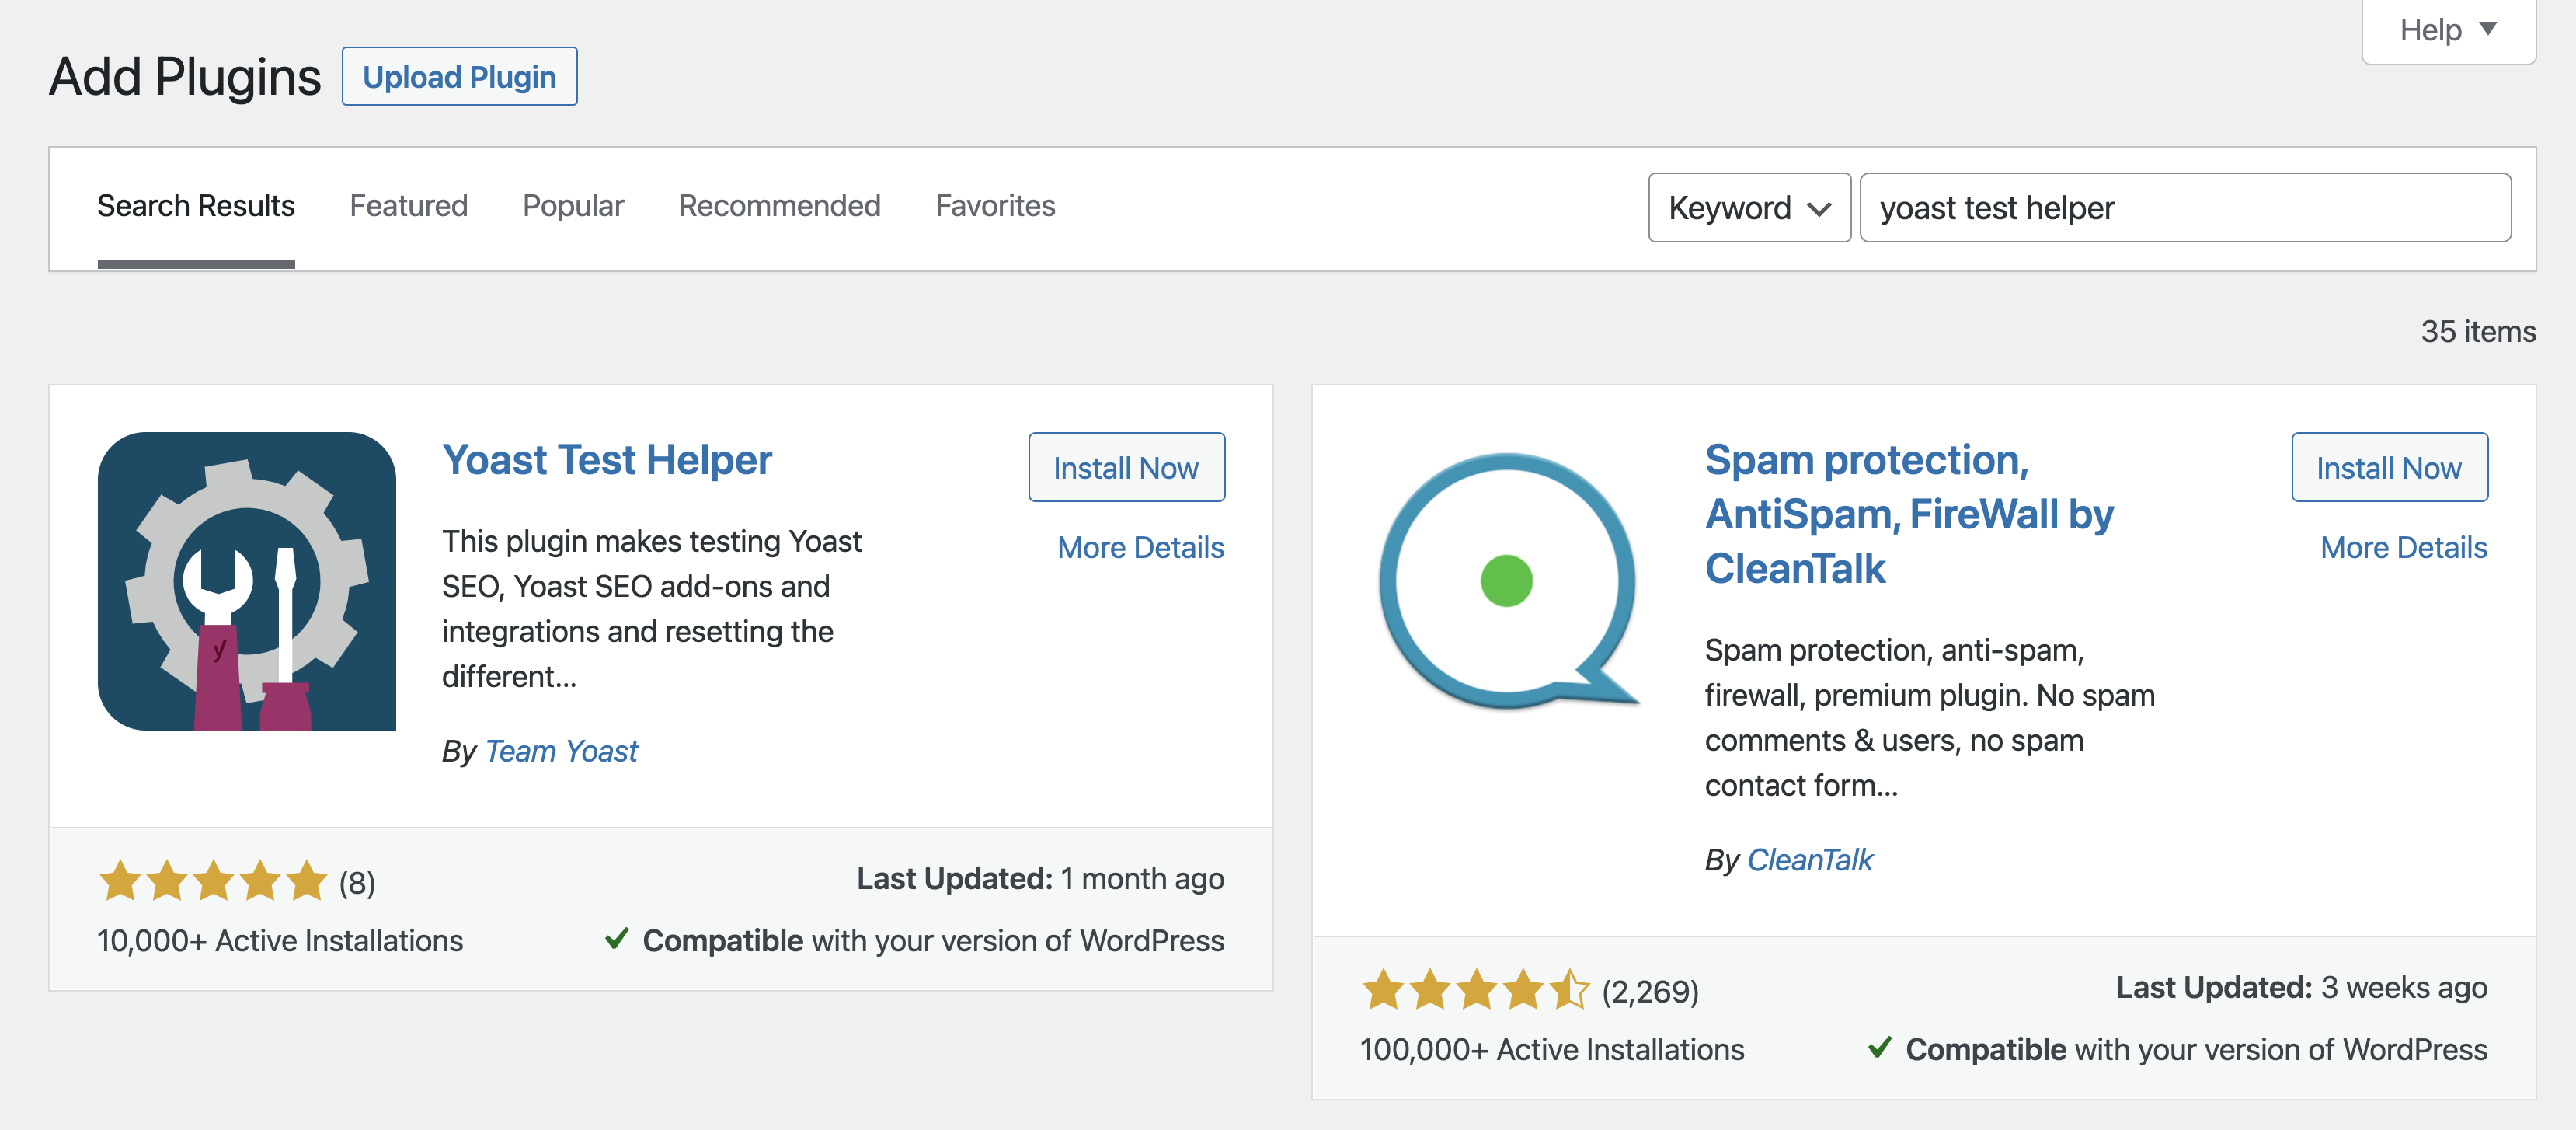
- In the Plugins menu, click on Add New Plugin

- Download, install and activate Yoast Test Helper
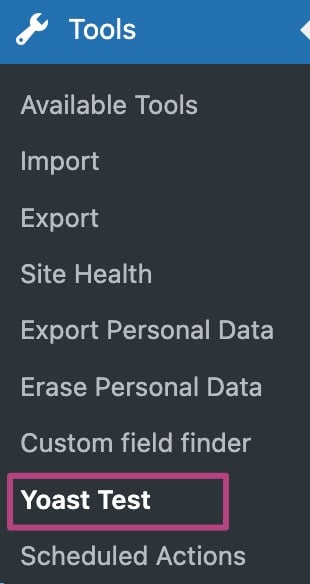
- Under Tools, open Yoast Test
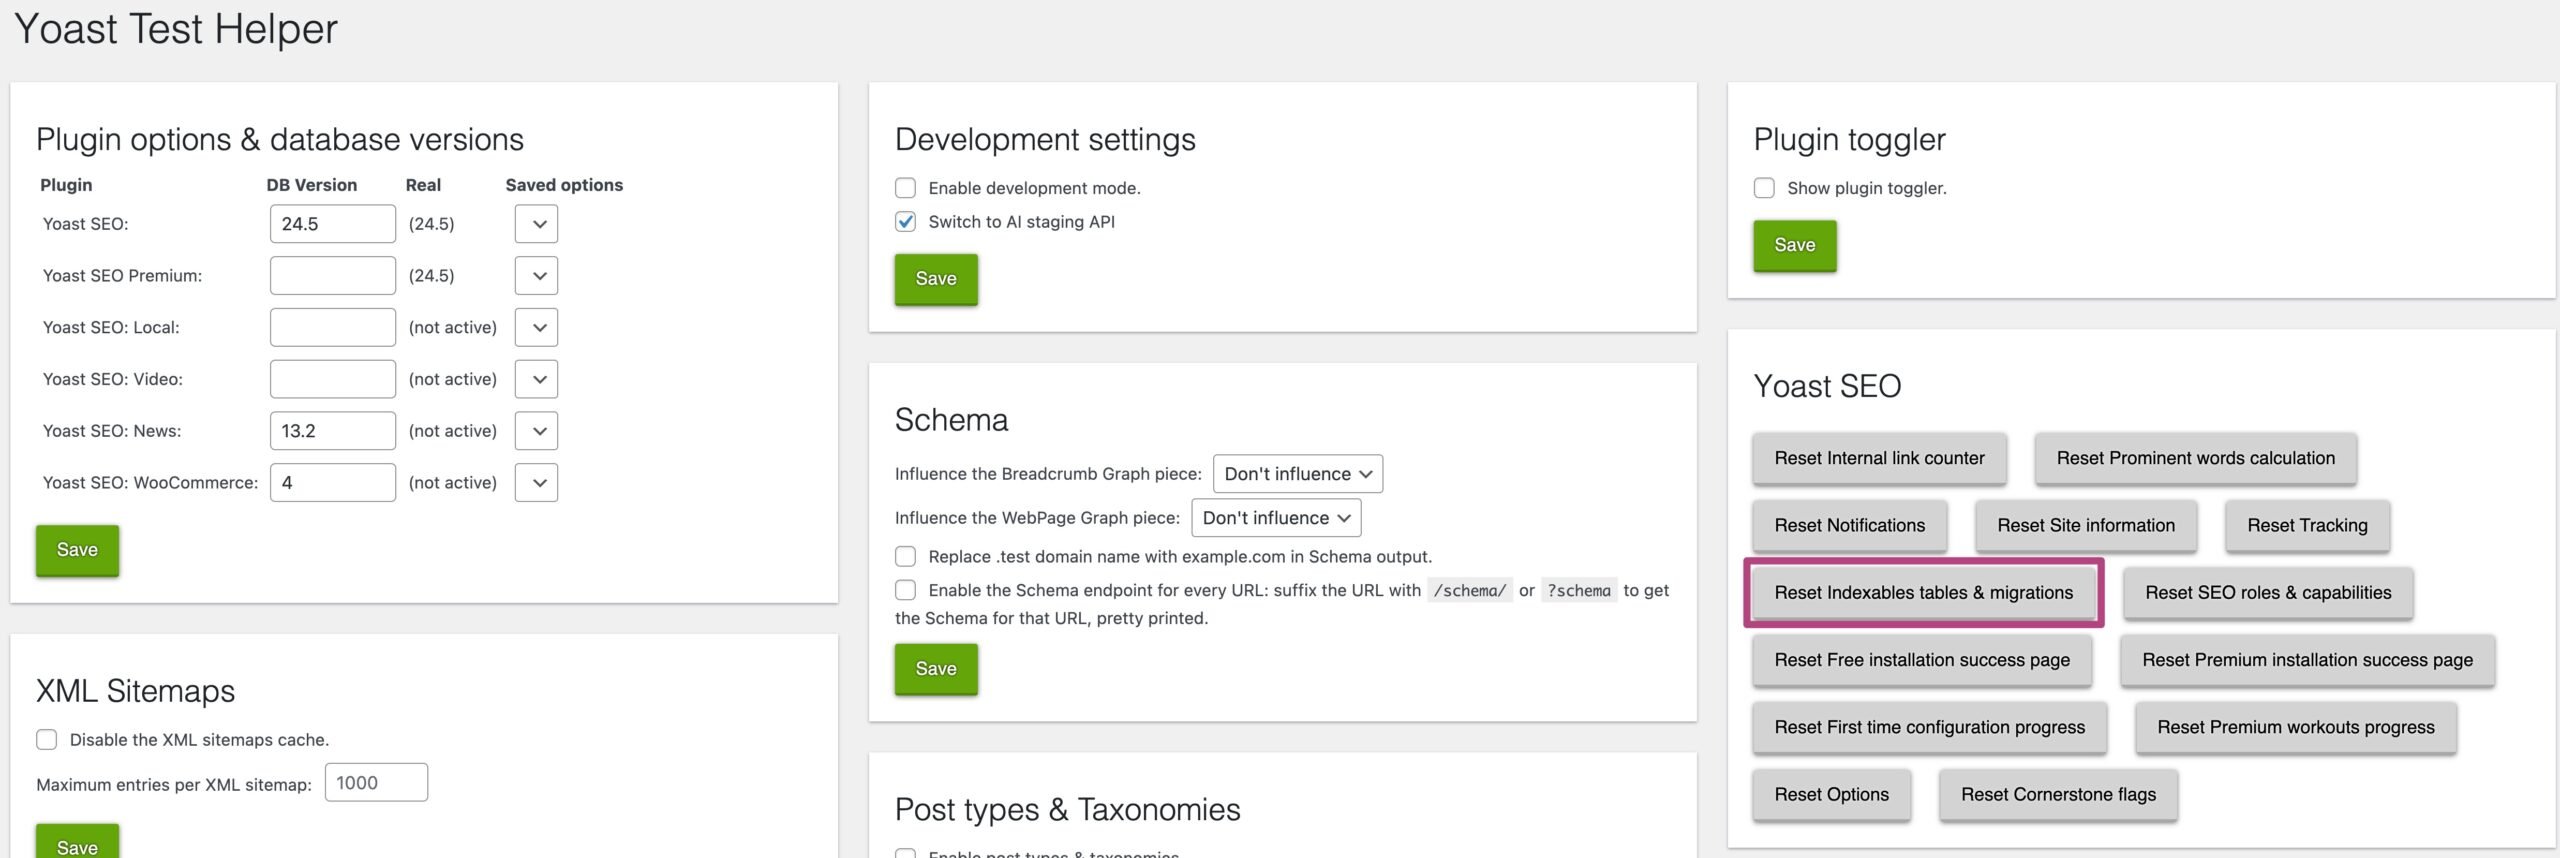
- Under Yoast SEO, click Reset indexables tables & migrations
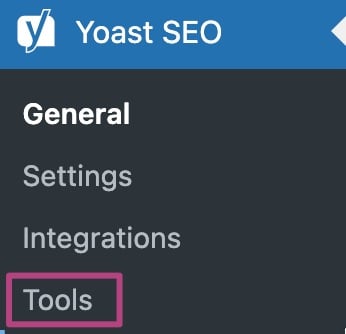
- Under Yoast SEO, open Tools
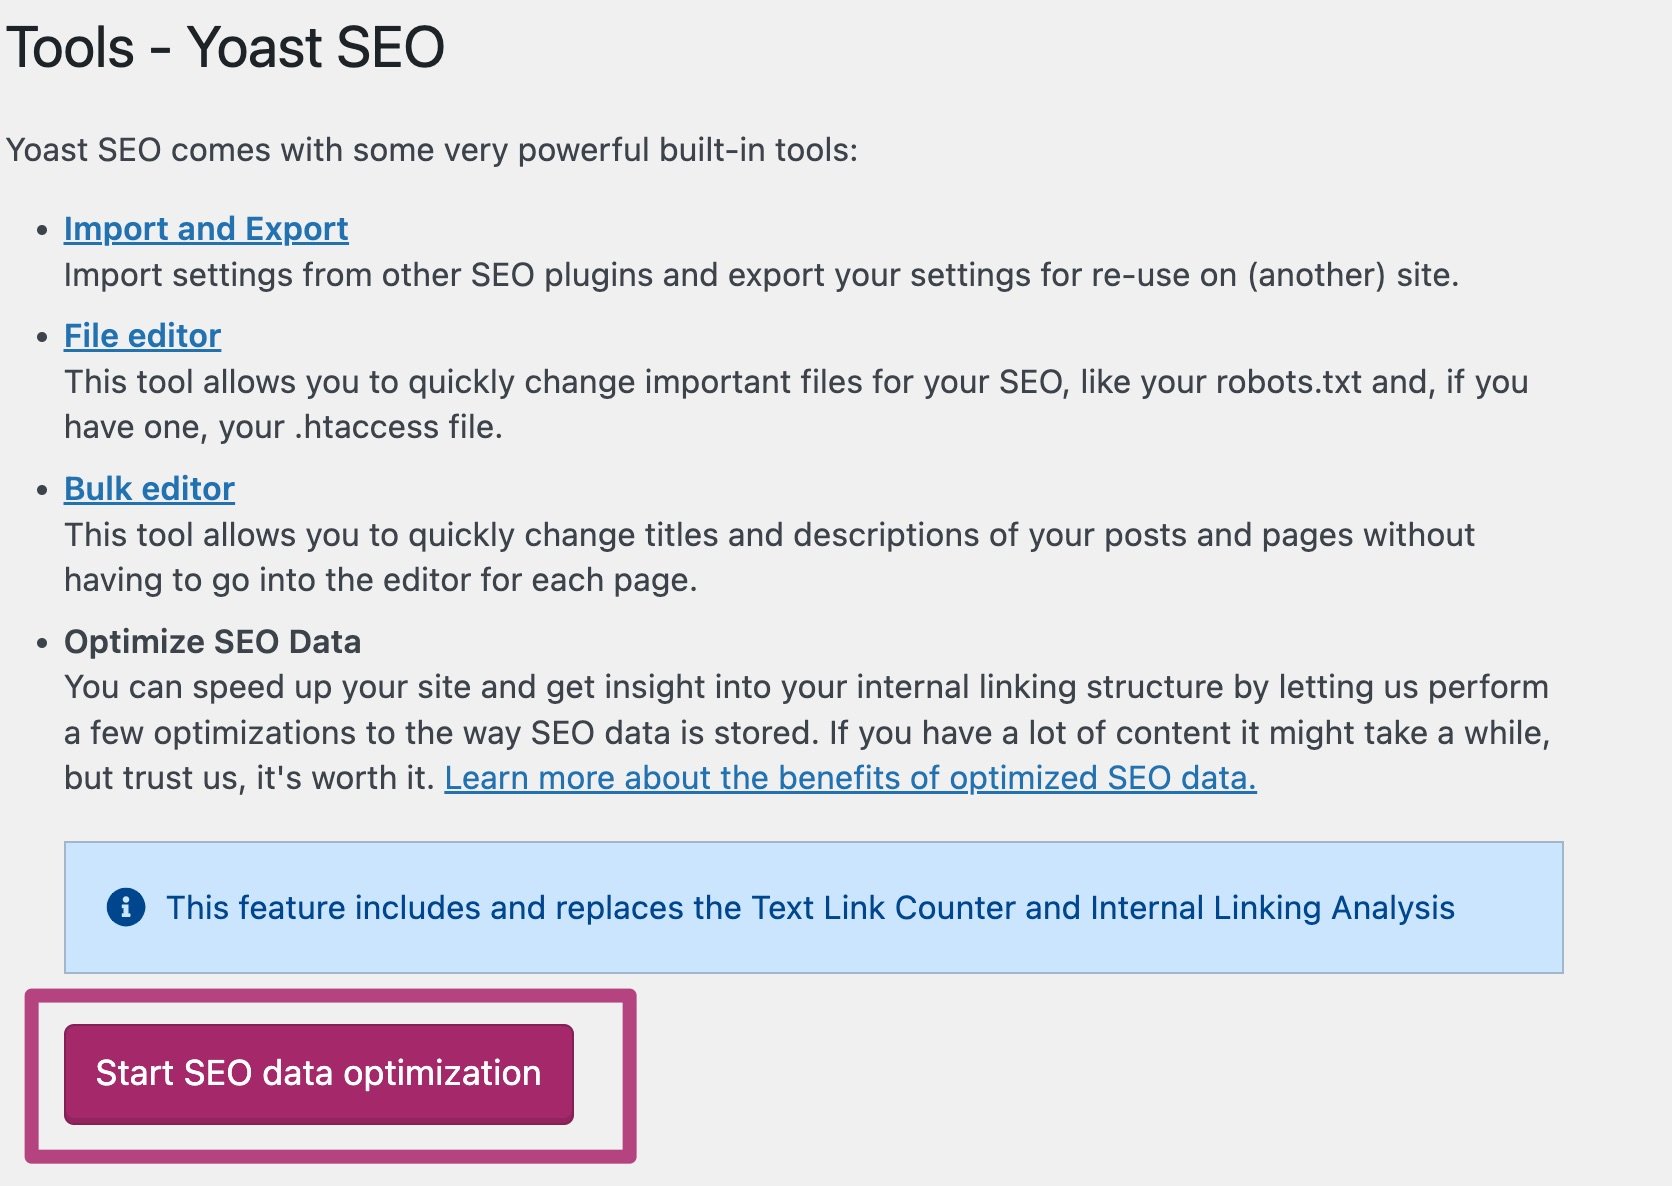
- Restart the SEO optimization by clicking Start data optimization
I have a problem with resetting the Yoast indexables
If you encounter errors, consult our Couldn’t complete SEO data optimization guide. Please note that the indexables will not work on a non-production or other staging site. If you have implemented a filter to disable the Yoast indexables, resetting will not work. You must remove the filter.
Get Yoast SEO Premium
Did this article answer your question?
Still having issues?
Try searching for your issue below