How to install Yoast WooCommerce SEO for WordPress
Thank you for purchasing Yoast WooCommerce SEO! In this article, we’ll explain how to install the Yoast WooCommerce SEO for WordPress. Please install Yoast SEO, Yoast SEO Premium, and WooCommerce first: you cannot use Yoast WooCommerce SEO without these plugins.
How to install Yoast WooCommerce SEO for WordPress
To install Yoast WooCommerce SEO, follow these steps.
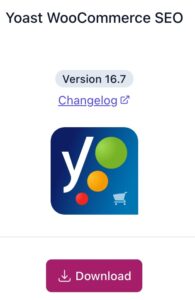
- In MyYoast, go to Downloads

- Download Yoast WooCommerce SEO
- Log in to your WordPress website
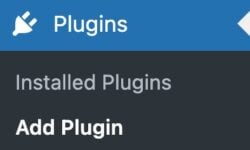
- Under Plugins, click Add Plugin
- At the top of the screen, click Upload Plugin
The screen will expand with the option to upload plugins.

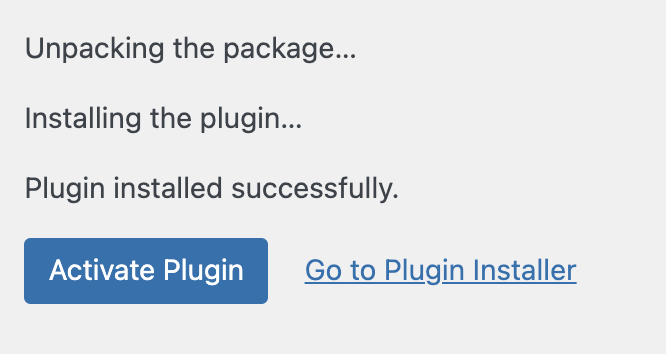
- Click Choose file, upload the plugin and click Install Now

- Click Activate Plugin
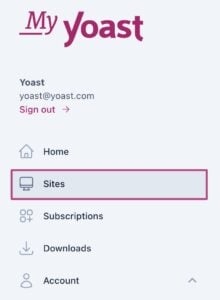
- Return to MyYoast and go to Sites
- Click + Add a site and fill in your site details

- Switch the toggle to On to connect your subscription

- Congratulations! You have now installed and activated Yoast WooCommerce SEO on your site
- You can now also install Local SEO, News SEO, and Video SEO
How do I use Yoast WooCommerce SEO?
Want to get started immediately? Read through the Configuration guide for Yoast WooCommerce SEO to set up your plugin for success! If you want to level up your skills, do the Ecommerce SEO course on Yoast SEO Academy to optimize your SEO efforts.
I have a problem installing Yoast WooCommerce SEO
If you run into problems installing Yoast WooCommerce SEO, please consult our Common installation and update errors help article.
Get Yoast SEO Premium
Drive more traffic to your site. Use AI to save time doing SEO tasks. Make SEO easier. And get 24/7 support.
Includes Local SEO, Video SEO & News SEO.
Did this article answer your question?
Still having issues?
Try searching for your issue below