Page redirects or loops unexpectedly
You can redirect posts or pages using our Yoast SEO plugin. If a page redirects unexpectedly or causes a redirect loop only when our plugin is active, this means a redirect has been added to our plugin
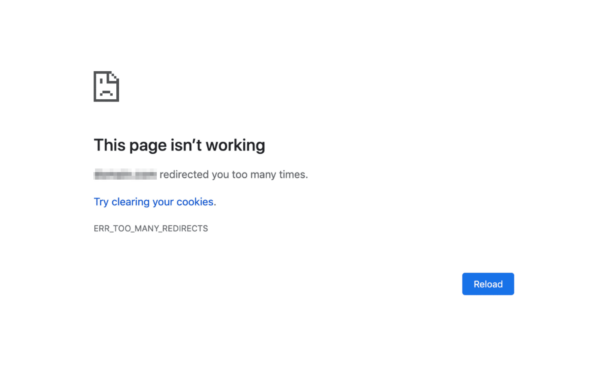
Example of the error
A possible redirect loop error, like ERR_TOO_MANY_REDIRECTS may be shown below in Chrome. Similar errors may appear in FireFox, Edge, or Safari browsers.
How to check if Yoast SEO causes the error
You can check if Yoast is causing these redirects loop by running a header check on the page. Each page has header information that is only seen by the browser and is not displayed for humans. With a tool like Header Checker or a curl test you can see this data.
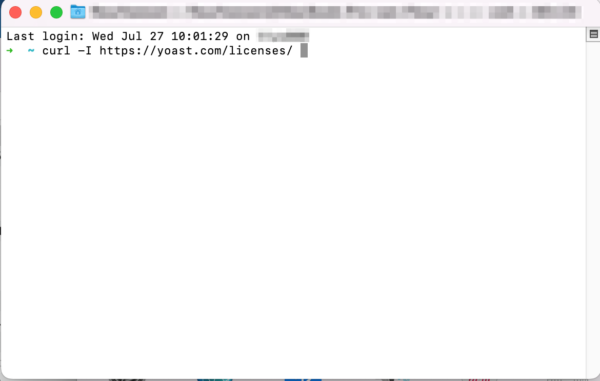
Curl test
If you want to perform a curl test to check the header, you’ll need to navigate to your terminal (for Mac users). In the terminal, enter curl -I full url of the page (example: curl -I https://yoast.com/licenses/ ), then hit enter.
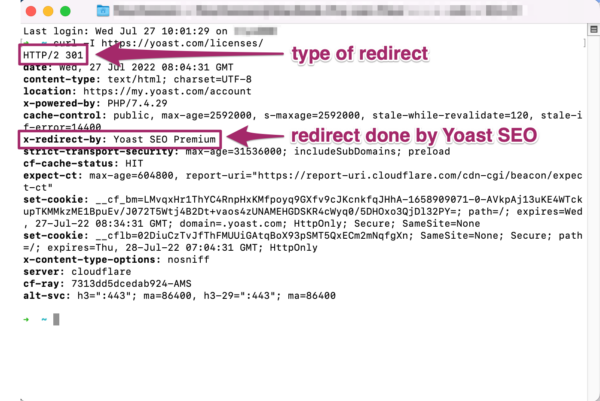
In the data, review the redirect and determine if Yoast is responsible. If the text names Yoast SEO Premium, it is responsible.
Redirect added to the individual page or post
The post level 301 redirect feature has been removed from the free plugin in favor of the more robust premium redirect manager as discussed on Github. If you have an older version of Yoast SEO, you may still see these.
Although you can no longer add new post level redirects, previously entered post level redirects may appear under Advanced in the Yoast SEO sidebar.
How to find a redirect added in the Yoast SEO Premium settings
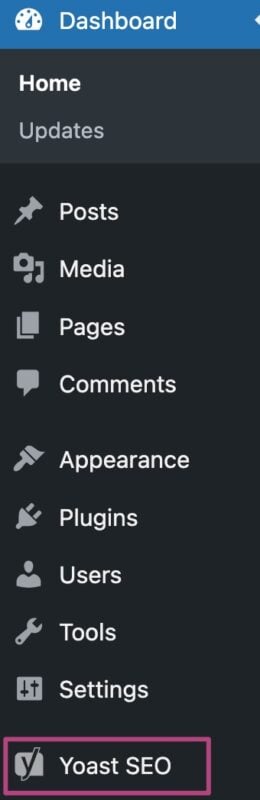
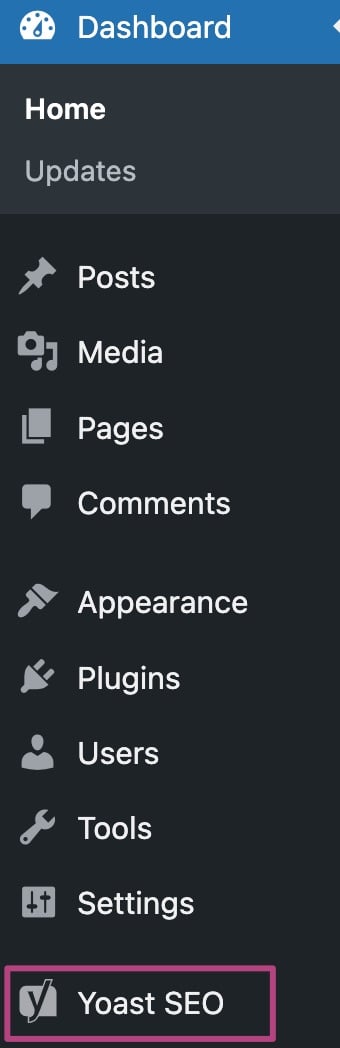
- In your WordPress Dashboard, go to Yoast SEO
- Go to Redirects
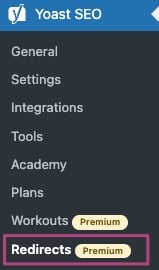
- Update or remove the inaccurate redirect
Don’t forget to check the Regex redirect tab.
My date archives redirect to the homepage
If your date archives are disabled in Yoast SEO, they are redirected to your homepage. If you want to enable your date archives, follow the steps below.
- In your WordPress Dashboard, go to Yoast SEO
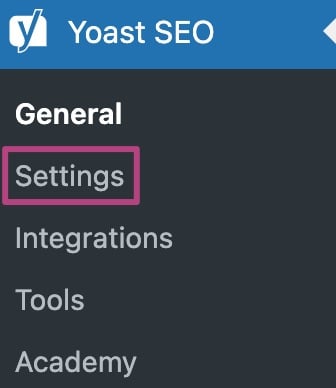
- Go to Settings
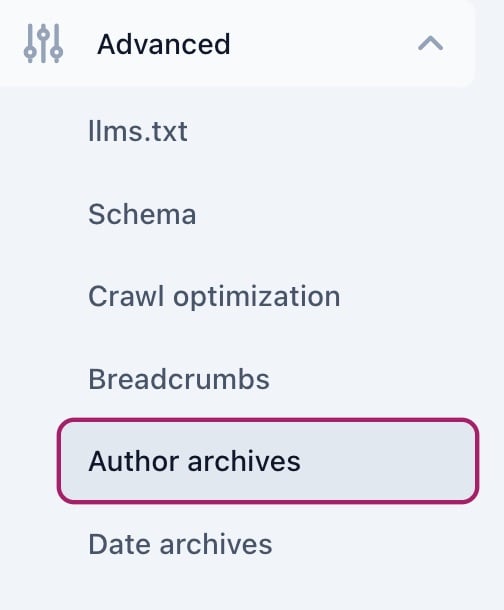
- Under Advanced, go to Date archives
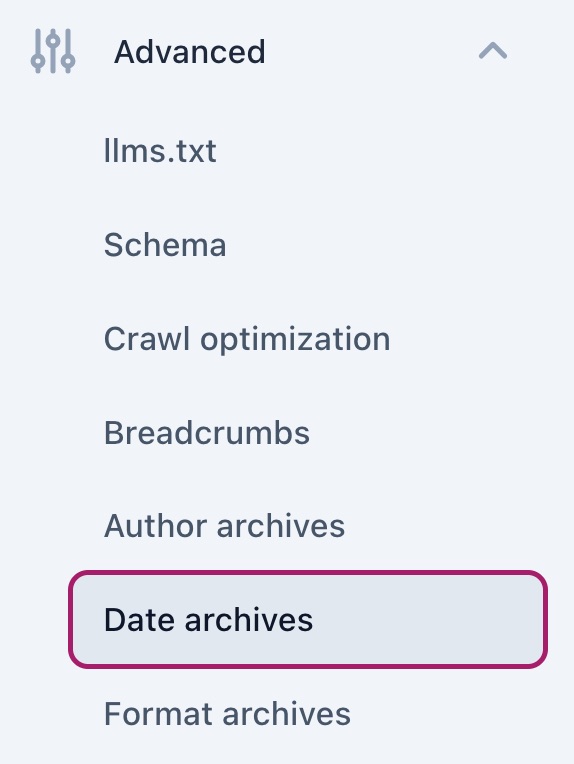
- Toggle the Enable date archives to On
If your archives are enabled, you’ll see a purple checkmark. If your archives are disabled, you’ll see a gray crossmark.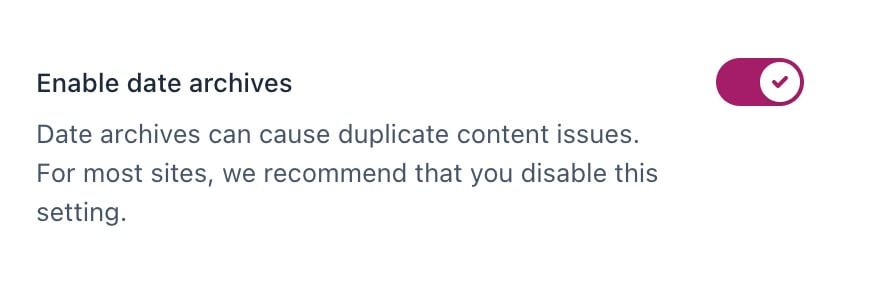
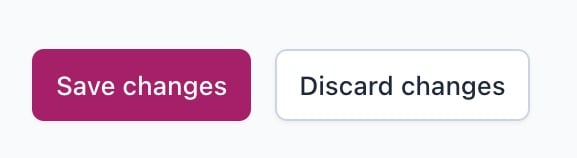
- Click Save changes
My author archives redirect to the homepage
If your author archives are disabled in Yoast SEO, they are redirected to your homepage. If you want to enable your author archives, follow the steps below.
- In your WordPress Dashboard, go to Yoast SEO
- Go to Settings
- Under Advanced, go to Author archives
- Toggle the Enable author archives to On
If your archives are enabled, you’ll see a purple checkmark. If your archives are disabled, you’ll see a gray crossmark.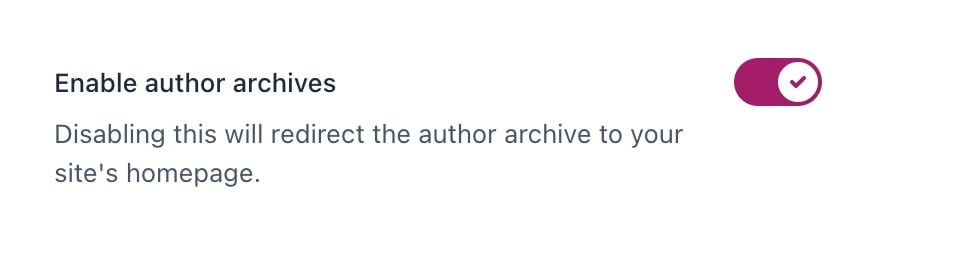
- Click Save changes
Remove category prefix
In some cases, removing the category prefix conflicts with other plugin or theme features. If your site uses the remove category prefix option, please change the option to keep the category prefix.
Get Yoast SEO Premium
Drive more traffic to your site. Use AI to save time doing SEO tasks. Make SEO easier. And get 24/7 support.
Includes Local SEO, Video SEO & News SEO.
Did this article answer your question?
Still having issues?
Try searching for your issue below