How to clear your WordPress cache
Sometimes you can’t see the changes you’ve made to your WordPress site immediately. This could be caused by outdated cache. To help you solve this, we’ll show you how to clear your WordPress cache. In this article, we’ll cover browser cache, WordPress caching plugins, and server cache. But first, let’s dive into what cache is and how it works.
What is cache and how does it work?
The cache is the place where pages, files, images, and other elements of your site are stored in memory so they can be retrieved quickly. There are different kinds of cache. For example, there’s browser cache (the elements stored in your browser), site cache (also called page cache or HTTP cache), but also server cache (the elements stored on the server hosting your website or on your CDN‘s server).
Every time you visit a website, your browser will download some of the site’s elements and store them as cache files in your local storage. When you visit that website again, it will load much faster. However, when you change your website, you might not be able to see them immediately, as the website loads from the cache. In that case, you’ll need to clear the cache to see your changes live.
How to clear your WordPress cache
If you have a WordPress site, follow the steps below to clear the cache.
- Clear your browser cache
- Use a WordPress caching plugin
For WP Super Cache, follow steps 3-4, for W3 Total Cache, follow steps 5-6
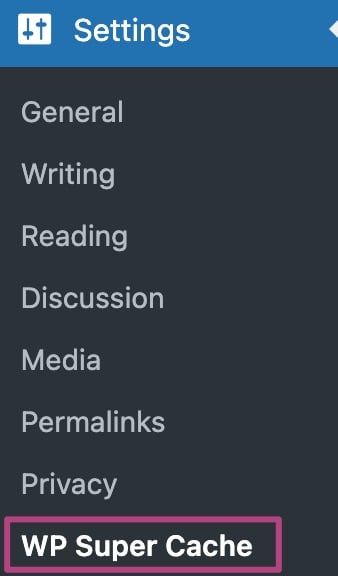
- In your WordPress Settings, go to WP Super Cache
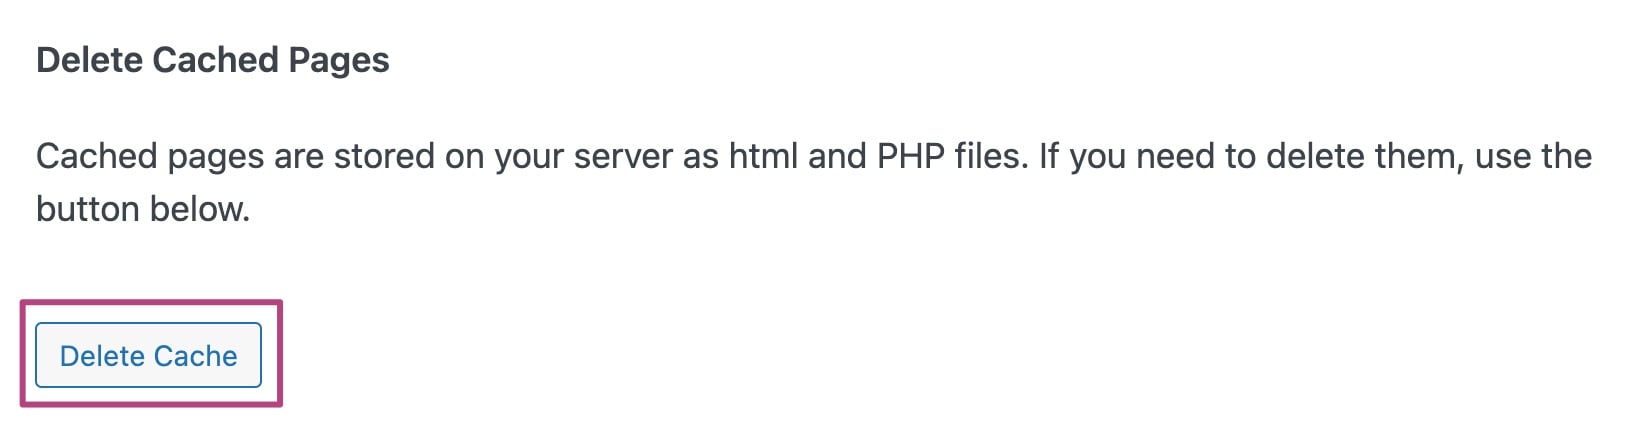
- Under the Easy tab and Delete Cached Pages, click Delete cache
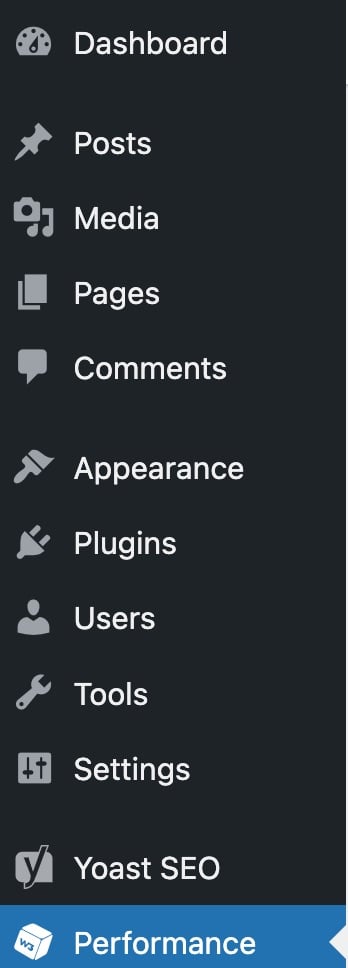
- In your WordPress Dashboard, go to Performance
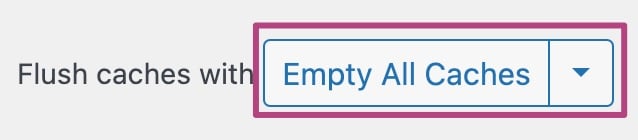
- Under Dashboard, click on Empty All Cashes
- Clear the server cache
Check your host’s options settings to see if there is an option to clear cache. If you can’t find it, contact your host to ask how to clear the server cache
Get Yoast SEO Premium
Drive more traffic to your site. Use AI to save time doing SEO tasks. Make SEO easier. And get 24/7 support.
Includes Local SEO, Video SEO & News SEO.
Did this article answer your question?
Still having issues?
Try searching for your issue below