How to change the permalink structure
A permalink – short for permanent link – is the full URL for a page on a website. It could include your domain name, plus a slug: the part of the URL that follows the domain name. As we explain in our article on what a permalink is, it’s very important to make sure they are SEO-friendly. So, how do you change the what is included in your permalinks? In this article, we’ll explain you how to change the permalink structure.
Why you should change the permalink structure
As we explain in our article on why you should change your WordPress permalink structure, we highly recommend you use just /%postname%/ for your site structure.
When you use the default permalink setting, which looks like http://www.example.com/?p=123, we will display a notice that recommends changing the structure.

Has you site existed for a while? In that case, we recommend that you are careful with changing your permalink structure. If you already have a lot of content, it can lead to issues such as 404 errors.
How to change the permalink structure in WordPress
- Log in to your WordPress website
When you’re logged in, you will be in your Dashboard.
- Under Settings, go to Permalinks
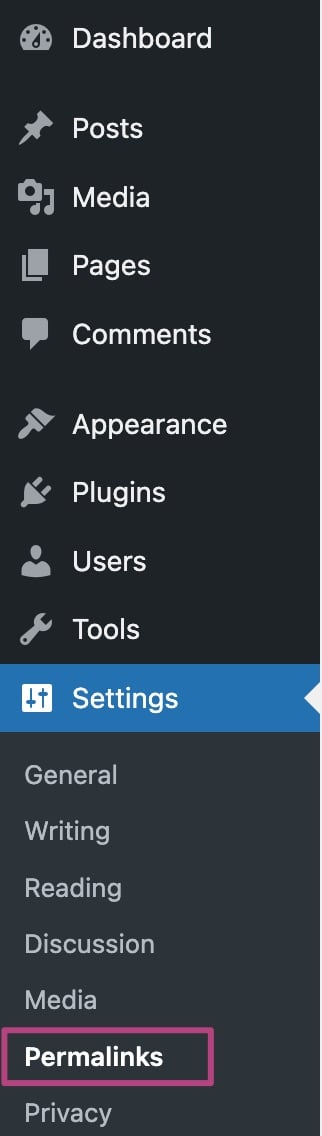
- In the Permalink structure section, select Post Name

- At the bottom of the page, click on Save changes
You have now changed your permalink structure.
- Use the Yoast Create Redirects tool to create code that redirects your content
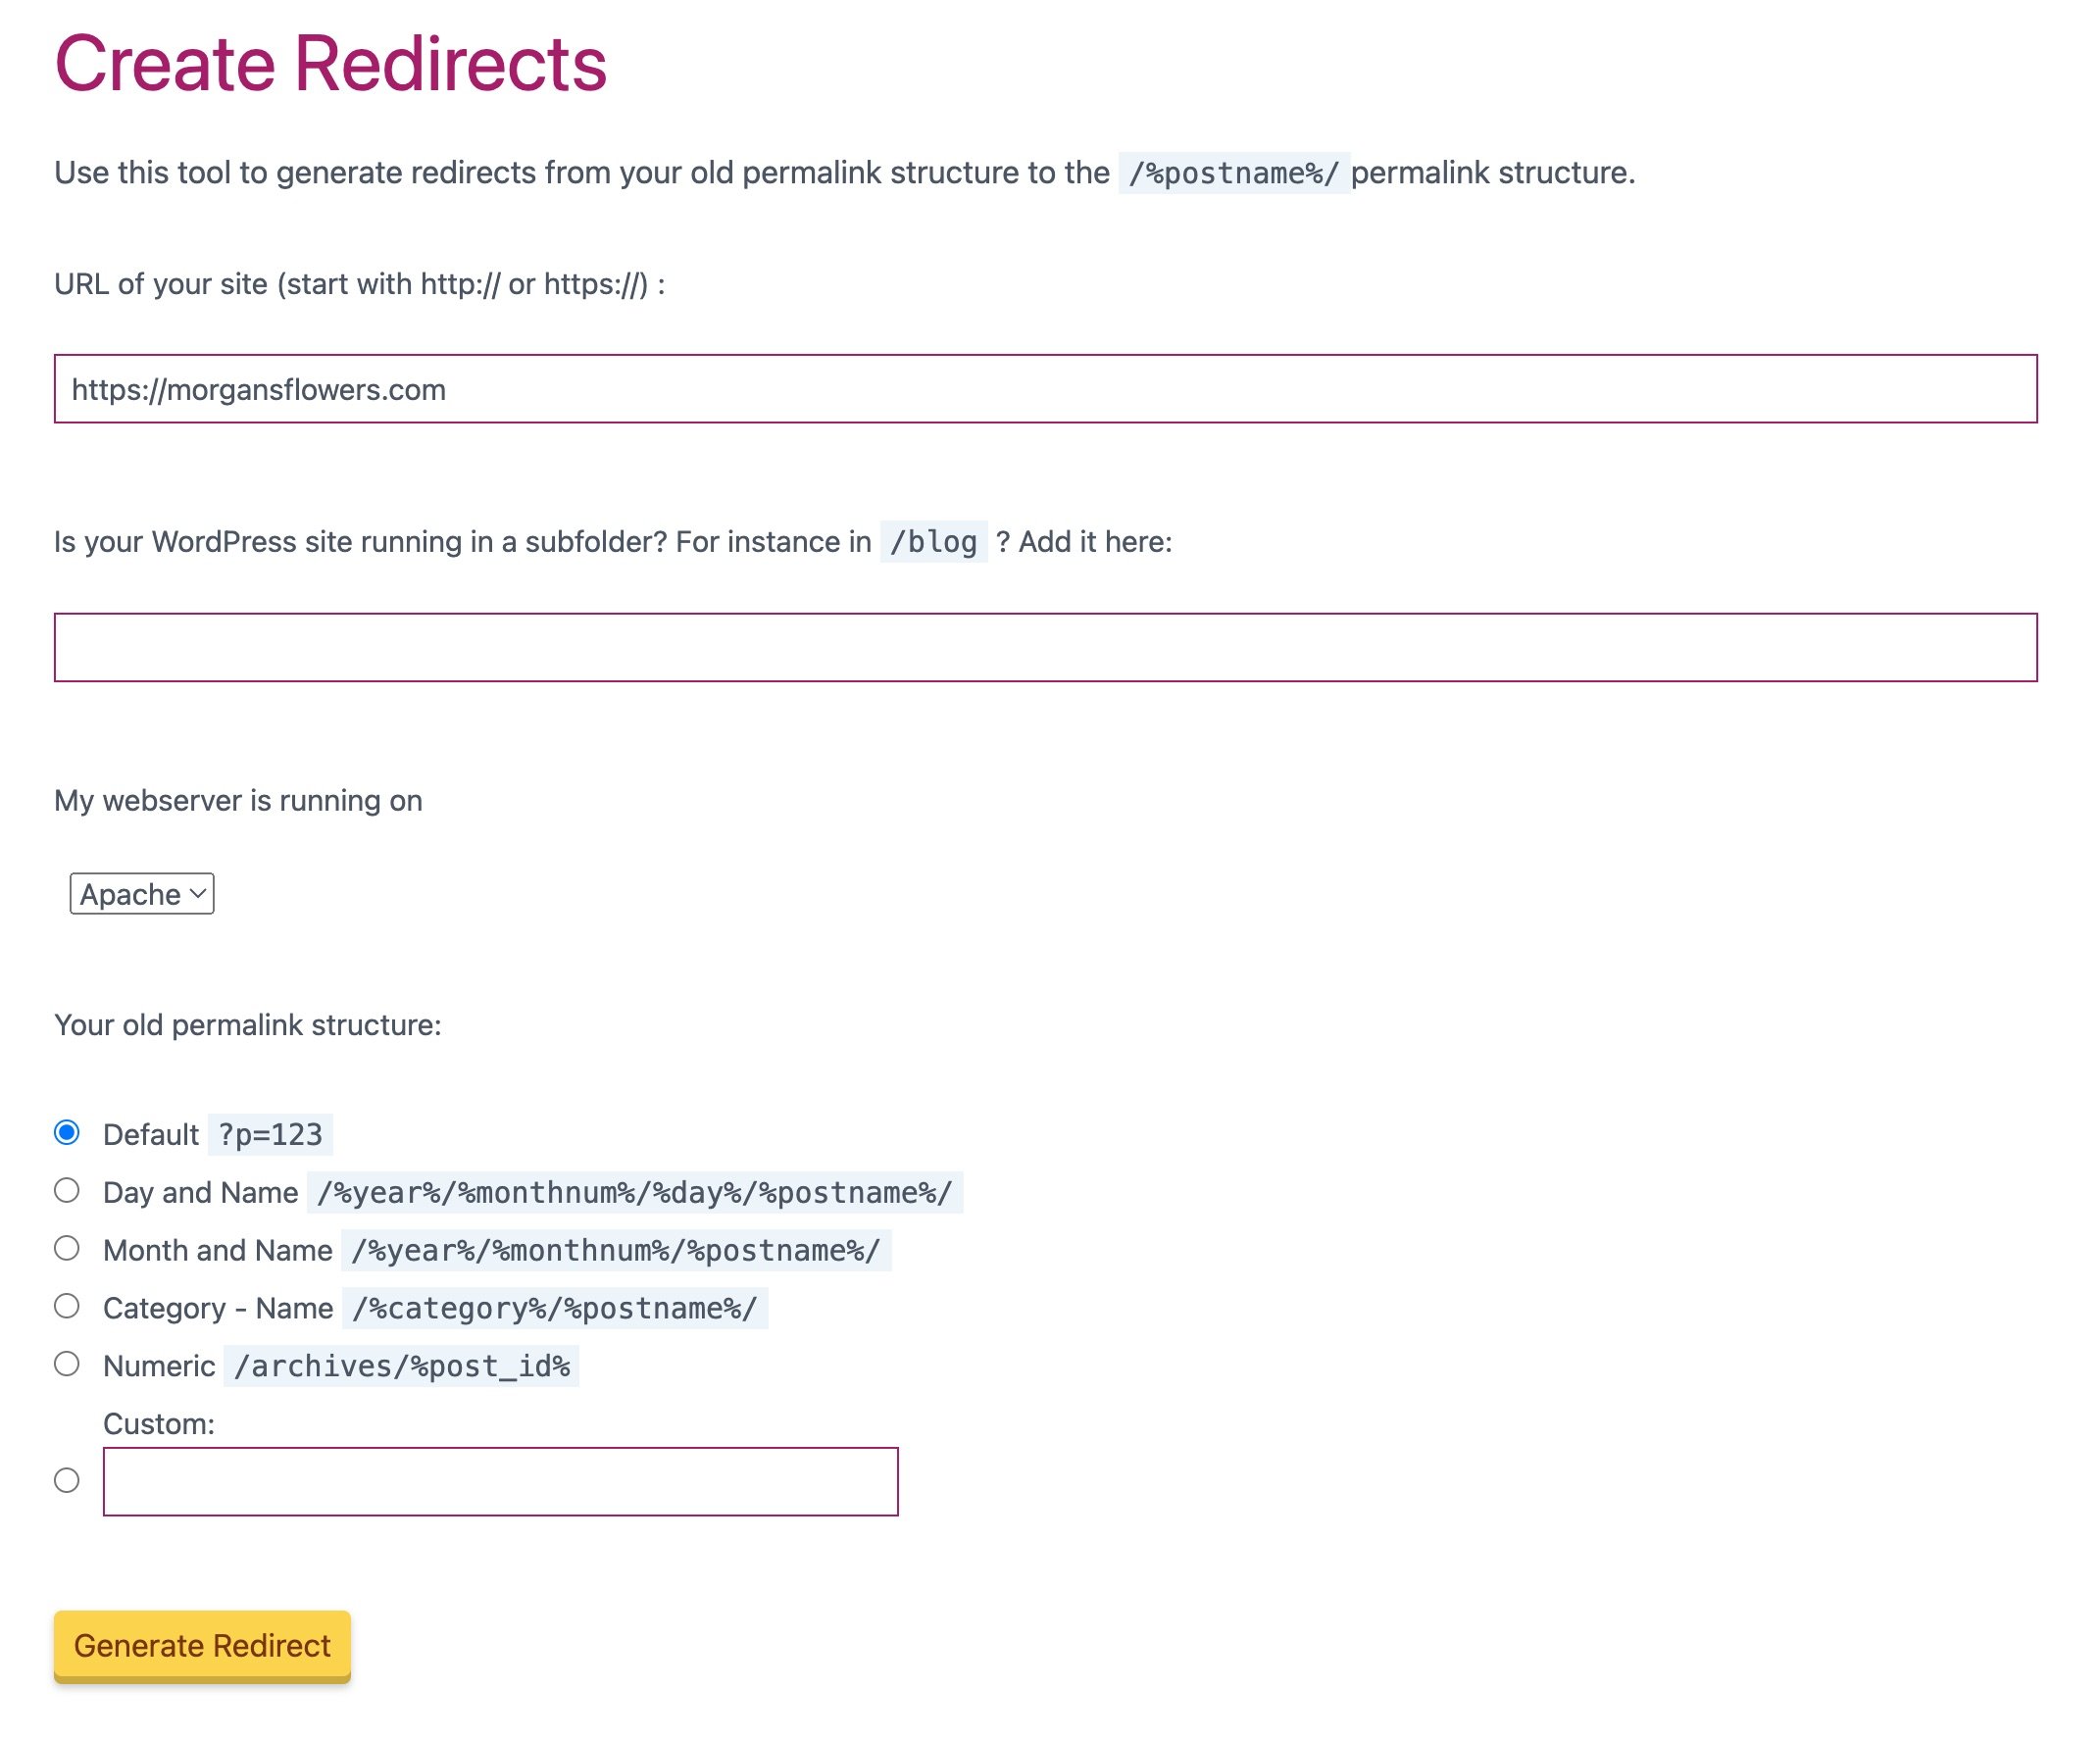
- Add the generated code to your site’s .htaccess file
Not sure where to find the .htaccess file and how to edit it? Follow our step-by-step instruction on How to edit .htaccess through Yoast SEO.
Get Yoast SEO Premium
Drive more traffic to your site. Use AI to save time doing SEO tasks. Make SEO easier. And get 24/7 support.
Includes Local SEO, Video SEO & News SEO.
Did this article answer your question?
Still having issues?
Try searching for your issue below