How to change the canonical URL in Yoast SEO for Shopify
Yoast SEO adds canonical URLs to your Shopify site: if you have multiple posts or pages with similar content, it tells the search engines what URL contains the original content. In some cases, you may want to change the canonical URL of your Shopify site manually. In this article, we’ll explain how you can change the canonical URL if you have Yoast SEO for Shopify.
How to change the canonical URL
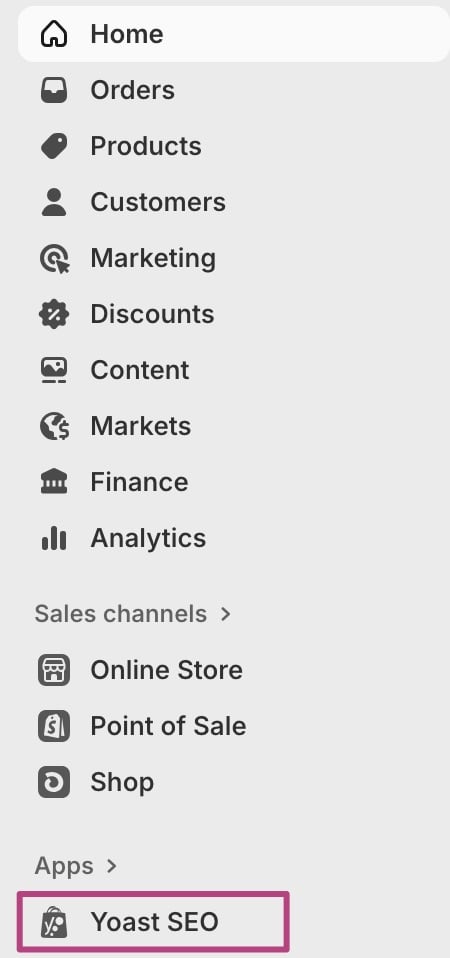
- Log in to Shopify and go to the Yoast SEO app

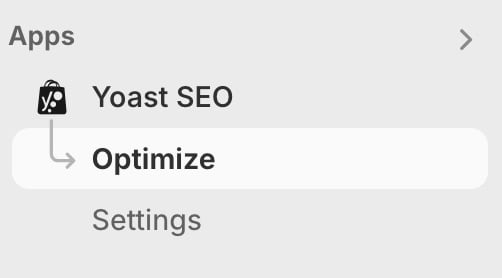
- Under Optimize, go to the Product, Page, Collection, Blog Post or Blog where you want to change the canonical URL

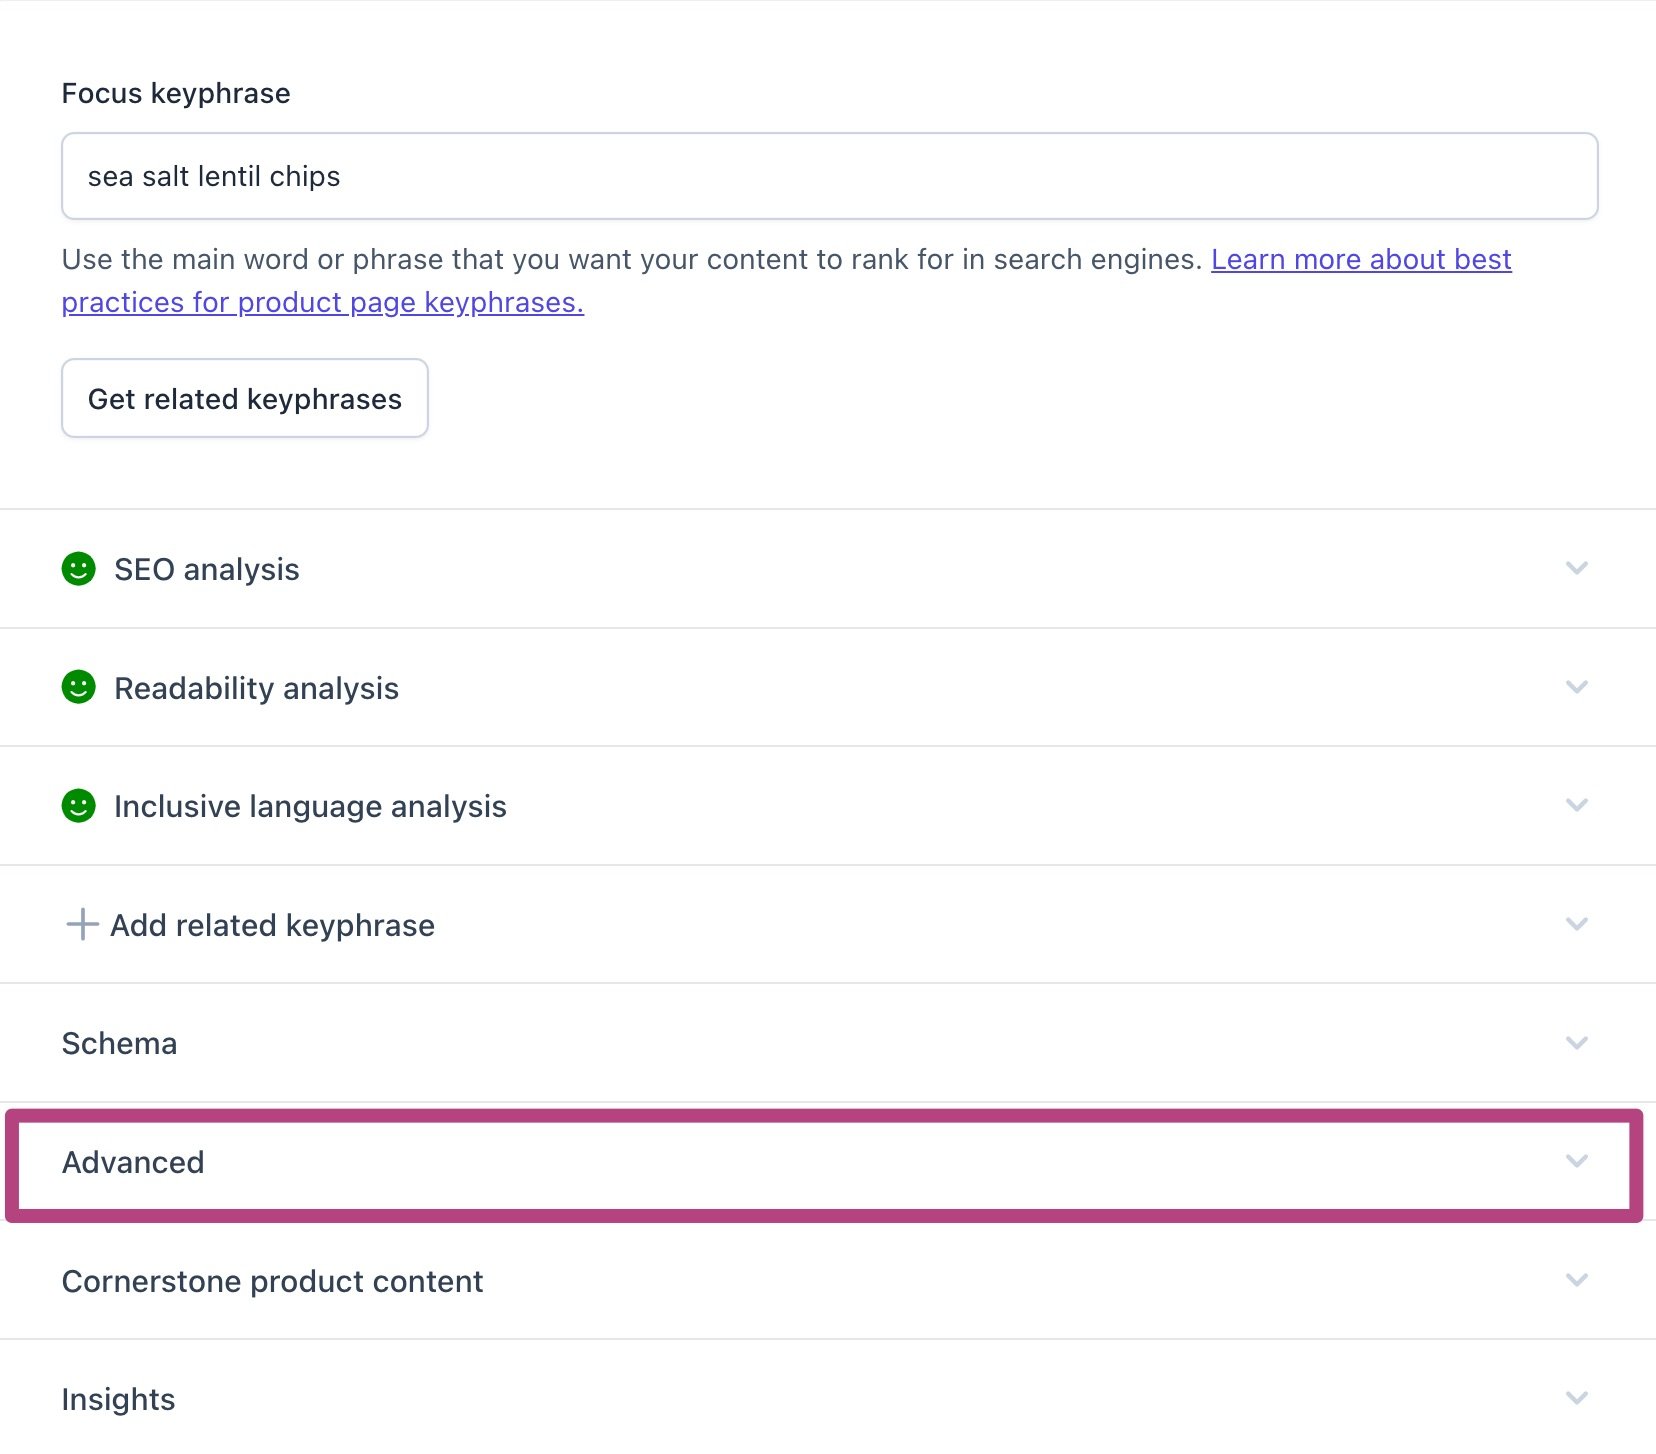
- Go to Advanced in the Yoast SEO sidebar

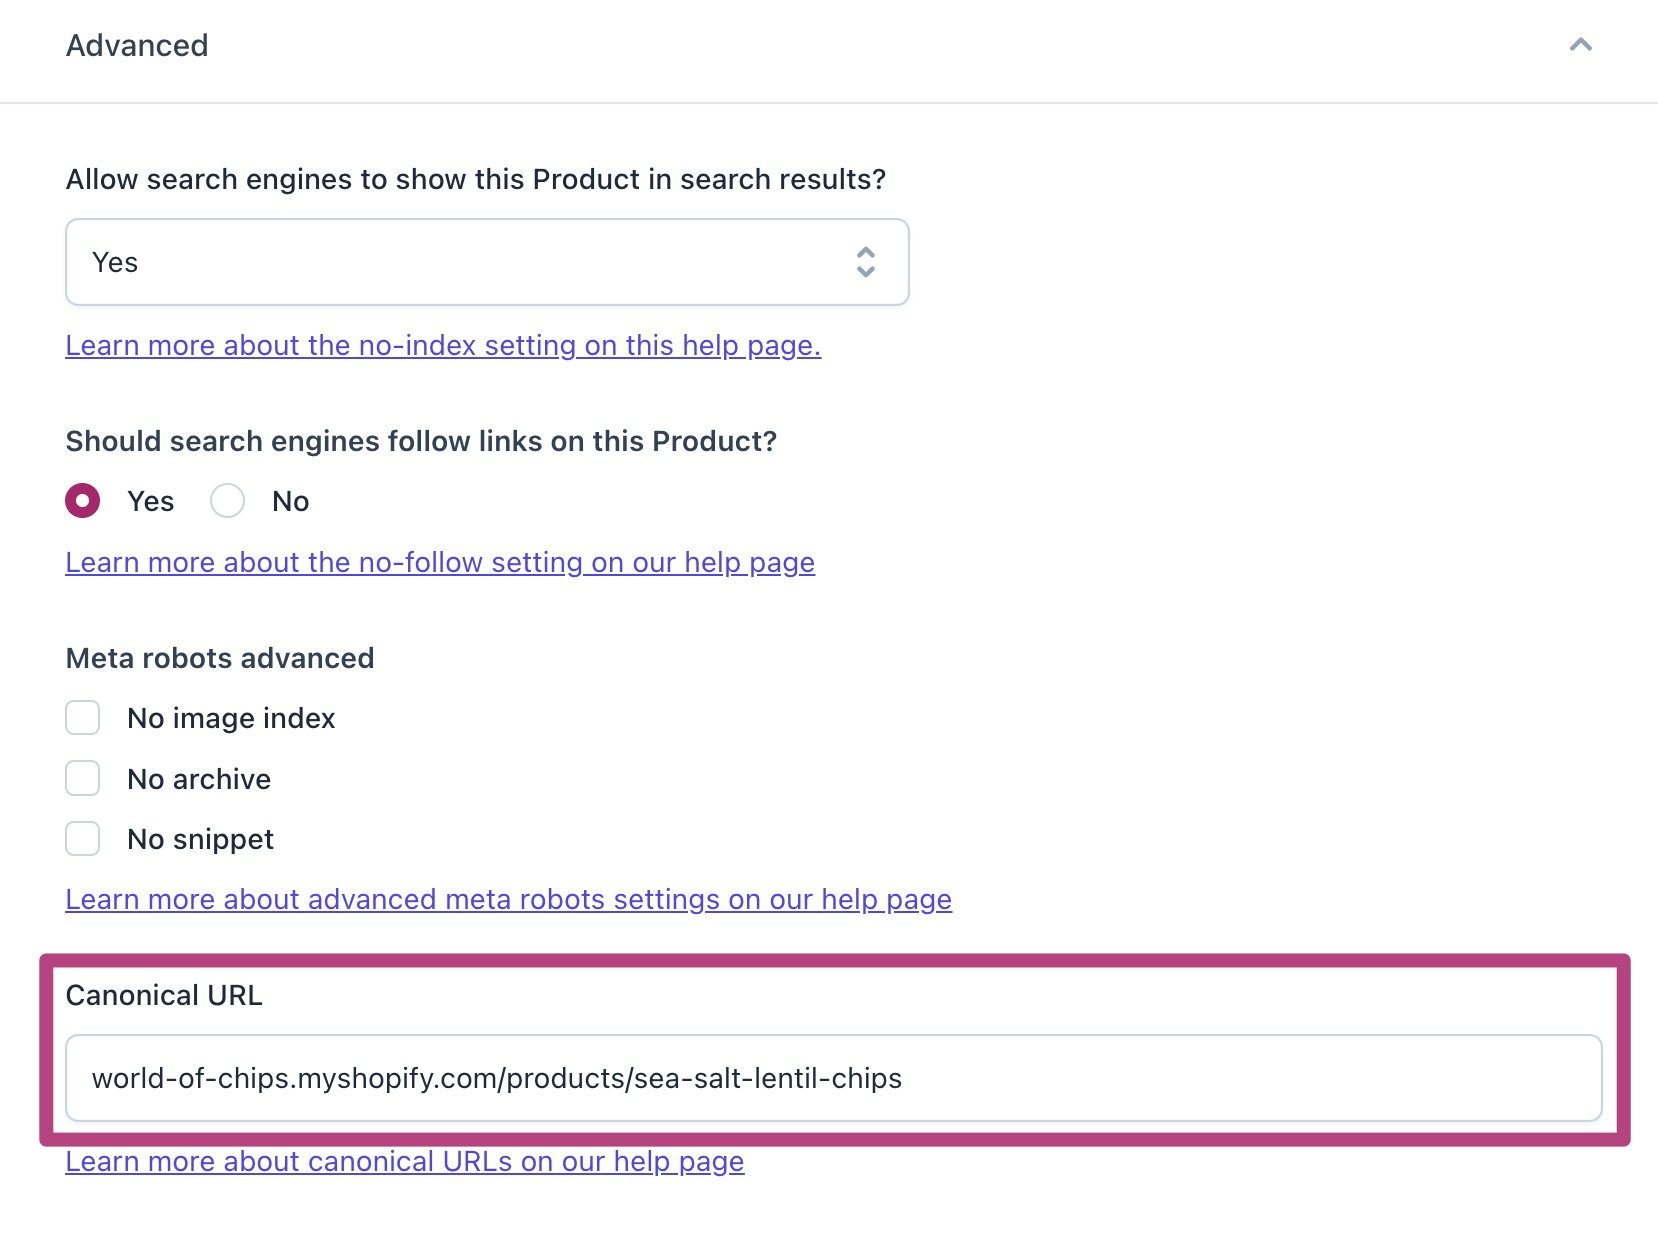
- In the Canonical URL field, enter the full canonical URL
You must write the full address, including http; https; www; or non-www at the beginning of the URL.

- Click Save changes to apply the changes to your site
At the bottom of the page, you can save your changes, which will output the new canonical URL.
I have a problem or a question
In some cases, you may not see a canonical tag output on a page. In this case, check if the page has a noindex tag. We do not output a canonical tag if the page is marked as noindex. To resolve the issue, mark the pages as index.
If the steps in this article do not resolve the issue, contact our Support team to get help.

