How to use the Yoast SEO internal linking tool
The Yoast SEO plugin comes with an internal linking tool for WordPress. This is a feature in Yoast SEO Premium that allows you to work on your internal linking structure. Internal linking is one of the most important ways to optimize your pages. Internal links contribute to a better site structure, easier crawling, and indexing of your pages. In this article, we’ll explain how to use the Yoast SEO internal linking tool.
How to enable the Yoast SEO internal linking tool
Before the internal linking tool can get to work, Yoast SEO Premium needs to scan your content in WordPress. The plugin needs to determine what your posts are about, and it does that by scanning your content. We would like you to help us a bit here, by starting that process for us in the settings of Yoast SEO.
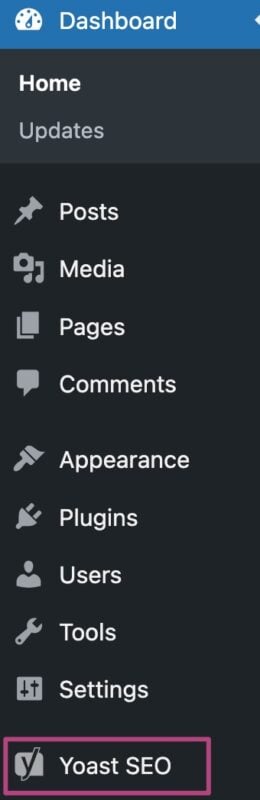
- In your WordPress Dashboard, go to Yoast SEO
On the left-hand side, you will see a menu. In that menu, click on Yoast SEO.
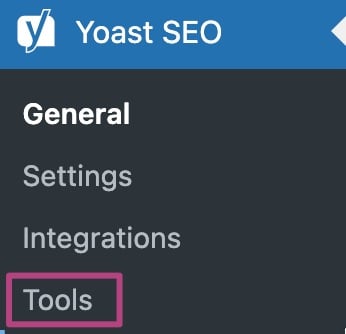
- Click on Tools
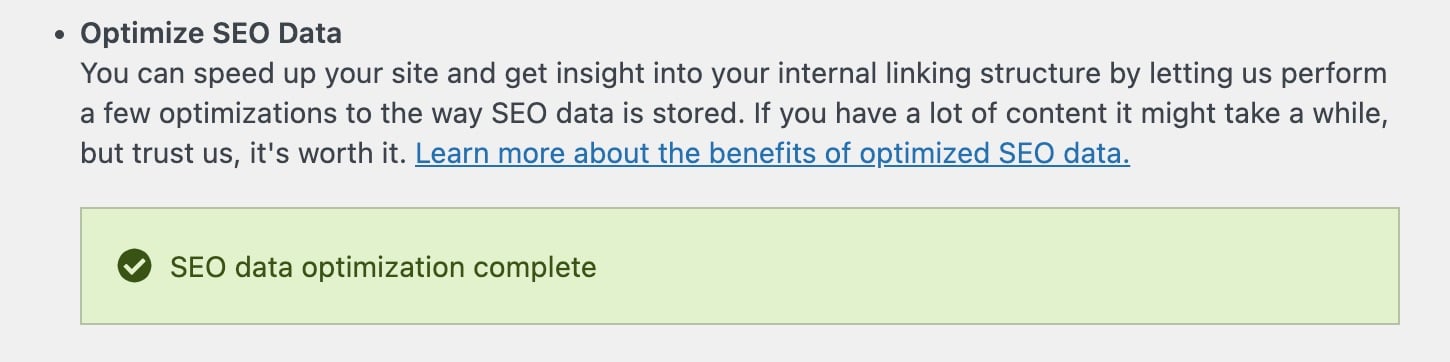
- Click Start SEO data optimization
The plugin will perform a series of analyses, including your Internal Linking Analysis. Read more about the SEO data analysis here.

- Wait for the SEO data optimization to finish
This step may take some time. Do not close your browser window until you see the green checkmark.
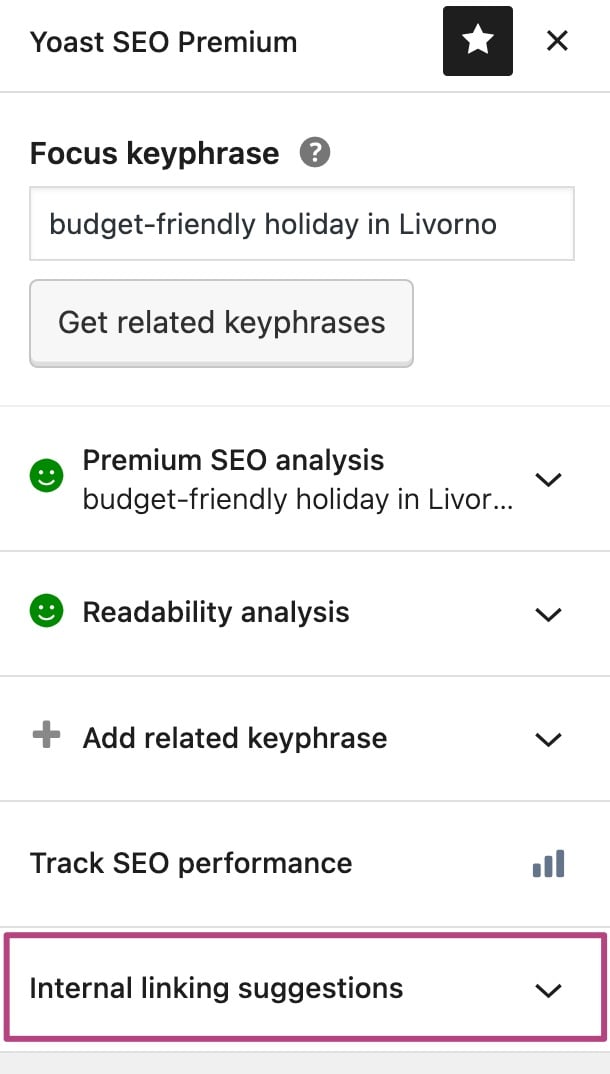
How to use the Yoast SEO internal linking tool
When your content has been analyzed, you can use the internal linking tool.
- In your WordPress Dashboard, go to your Post or Page
- In the editor, open the Yoast SEO sidebar
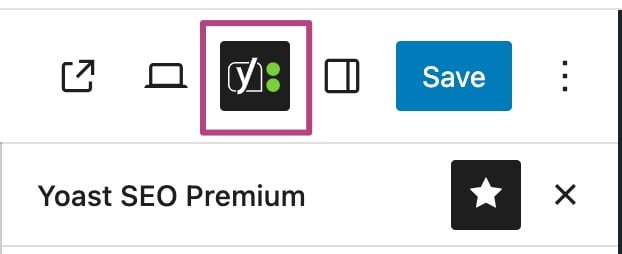
- Open the Internal linking suggestions tab
- Click the copy icon
You’ll find five suggestions for links, including posts, pages, tags, or categories.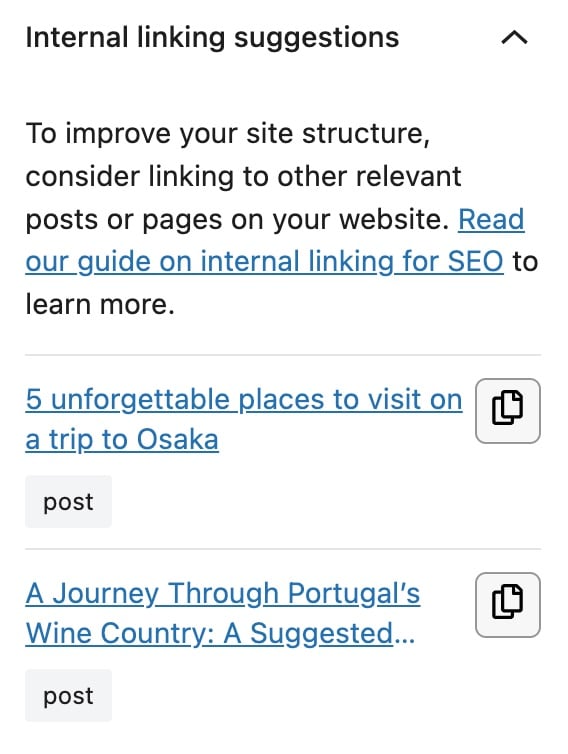
- Add the link to your Post or Page
When you’ve added the link to your content, you’ll see a green checkmark.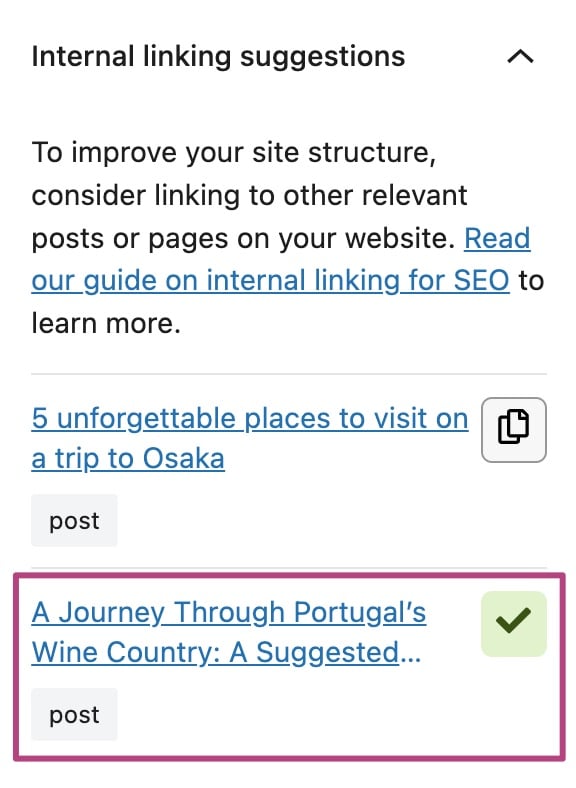
Get Yoast SEO Premium
Drive more traffic to your site. Use AI to save time doing SEO tasks. Make SEO easier. And get 24/7 support.
Includes Local SEO, Video SEO & News SEO.
Did this article answer your question?
Still having issues?
Try searching for your issue below