How to switch to the local pickup option in WooCommerce
Are you using the local pickup option in Yoast Local SEO for your online store? If so, it’s time to make a switch. With the release of WooCommerce 7.4, a new local pickup option is now available. To ensure your store continues to provide the best possible experience for your customers, it’s important to transition from the soon-to-be deprecated Yoast Local SEO option to the WooCommerce option. In this article, we’ll walk you through the steps you need to take to switch to the local pickup option in WooCommerce.
Why should you switch?
The local pickup option in Yoast Local SEO is going to be deprecated soon. Therefore, if you’re using this feature, it’s important to transition to the new local pickup option in WooCommerce. This way, you’ll avoid any potential issues for your store.
What will change for you?
Switching to the local pickup option in WooCommerce means you have to switch from using the checkout shortcode to the WooCommerce Fluid Checkout block. This change can impact the appearance of your checkout page and there could be some technical considerations to keep in mind. So, before you dive into making any changes, make sure you know what you’re doing.
Just like the local pickup option in Yoast Local SEO, the local pickup option in WooCommerce allows you to set pickup locations and add a price for customers who choose local pickup. When it comes to Schema structured data, nothing will change when you switch to the WooCommerce option. Read more about it in the WooCommerce documentation or in this article on WooCommerce blocks.
How to switch to the local pickup option in WooCommerce
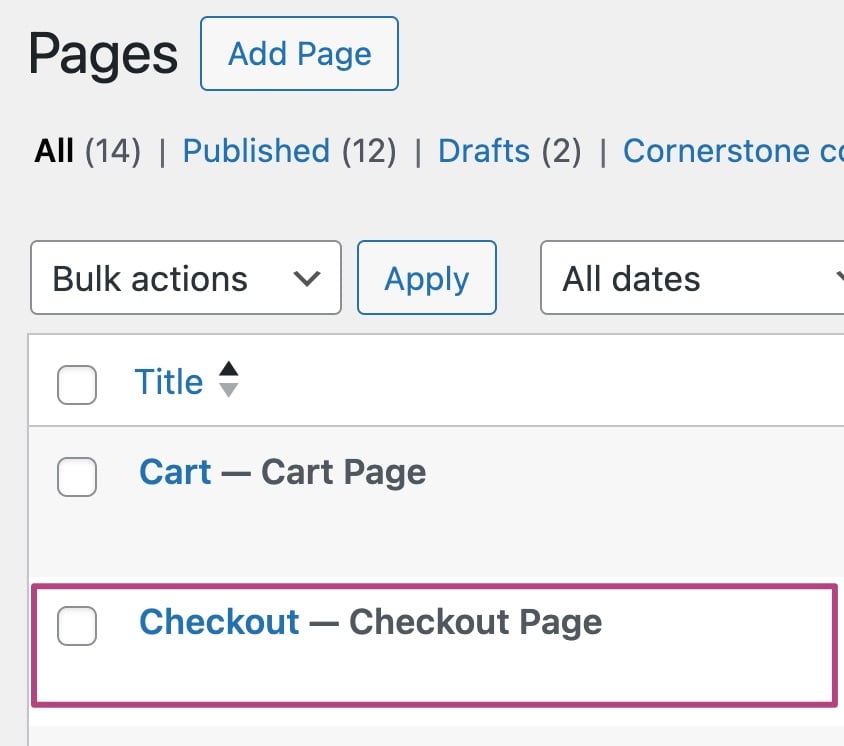
- In your WordPress Dashboard, go to Pages

- Open the Checkout page
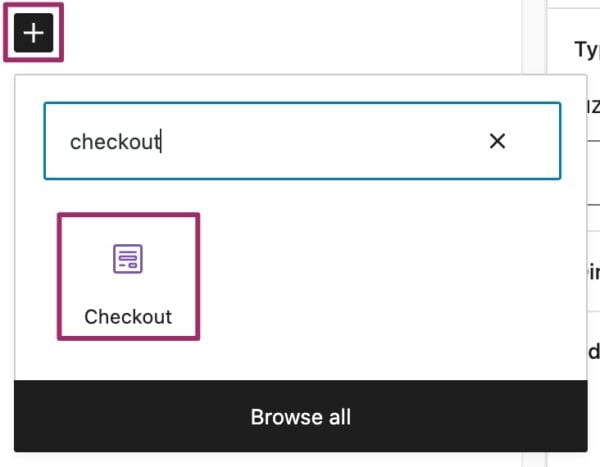
- Remove the
[woocommerce _ checkout]block - Add the WooCommerce Checkout block
- Click Save in the top-right corner
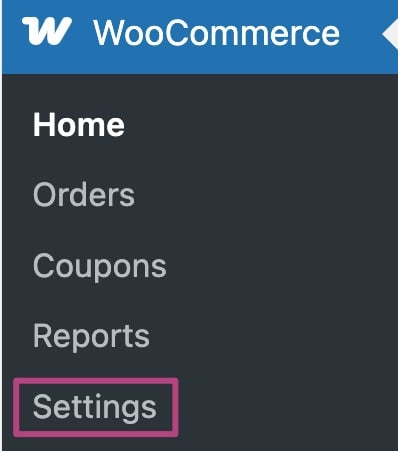
- Go to the WooCommerce Settings
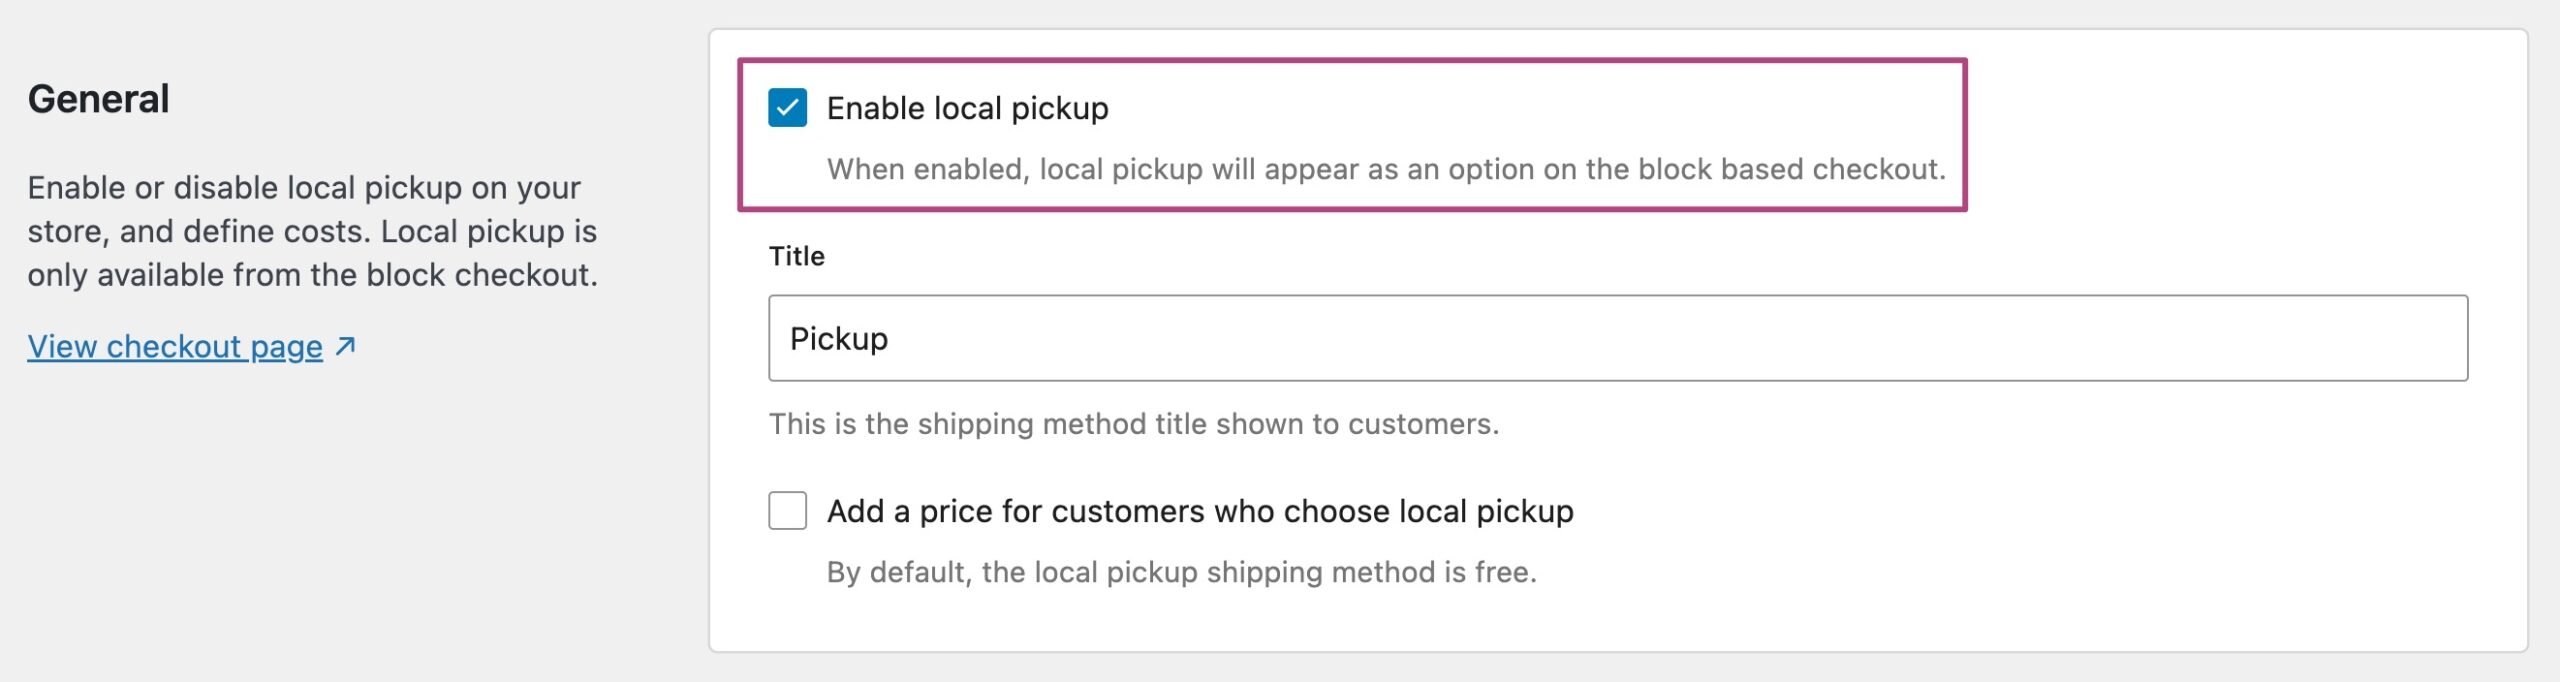
- Under Shipping, go to Local Pickup

- Tick Enable local pickup and click Save changes
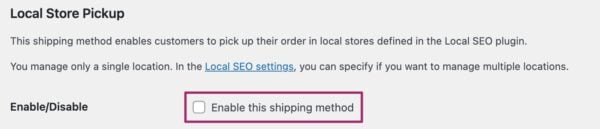
- Under Shipping, go to Local Store Pickup

- Untick Enable this shipping method and click Save changes
- Return to your Checkout page
- Check that Local pickup is now an option under Shipping method
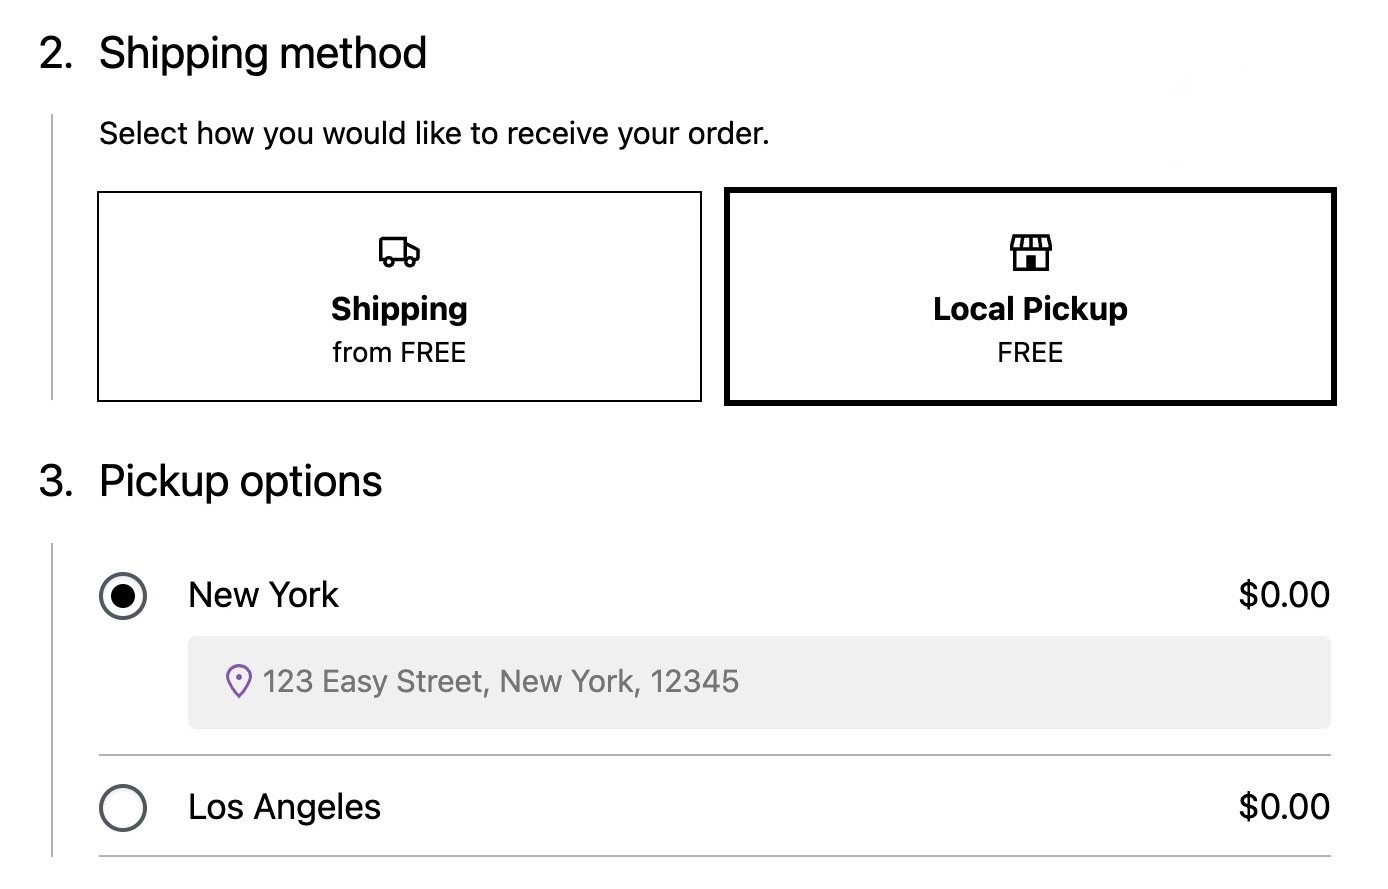
- You’ve successfully switched to the local pickup option in WooCommerce!
Get Yoast SEO Premium
Did this article answer your question?
Still having issues?
Try searching for your issue below