How to create a staging environment for your WordPress site
When making significant changes on your site, it’s important to test these first. The best way to do this is by using a staging environment. A staging environment is a copy of your site on your server that allows you to implement and test changes without affecting your real site. In this article, we’ll explain how to create your own staging environment: through your hosting company and by using a WordPress plugin.
How to create a staging website through your hosting company
You can ask your hosting company to create a staging environment for you. Most most hosts should be able to do this for you: we also have a list of vetted WordPress hosting companies. .
How to create a staging environment using a WordPress plugin
If your hosting company can’t set up a staging site for you, you can use a WordPress plugin to do it yourself.
Follow the steps below to create your own staging site.
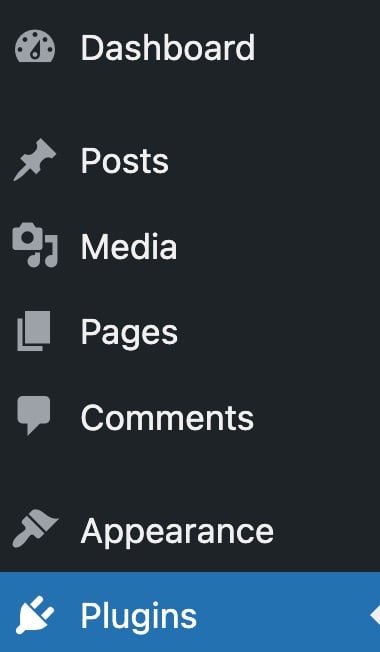
- In your WordPress Dashboard, go to Plugins
- Go to Add Plugin

- Search for a trustworthy staging plugin
Confirm the trustworthiness of the plugin by checking the reviews; number of active installations; last update; WordPress compatibility; quality, performance and offered support.
- Install and activate your chosen staging plugin
We use WP Staging here as an example.
- Backup your site
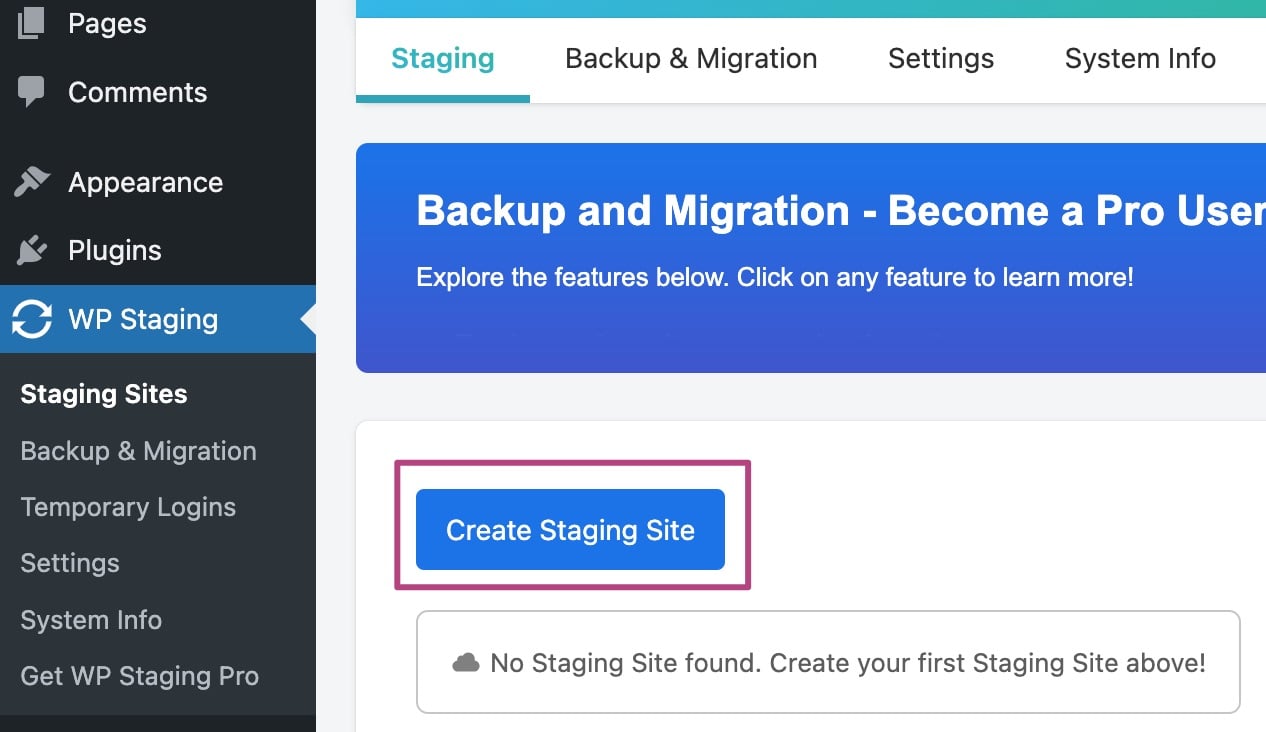
- Go to your staging plugin
Go to the WP Staging plugin. Here, you can immediately click Create Staging Site to set up your staging site.
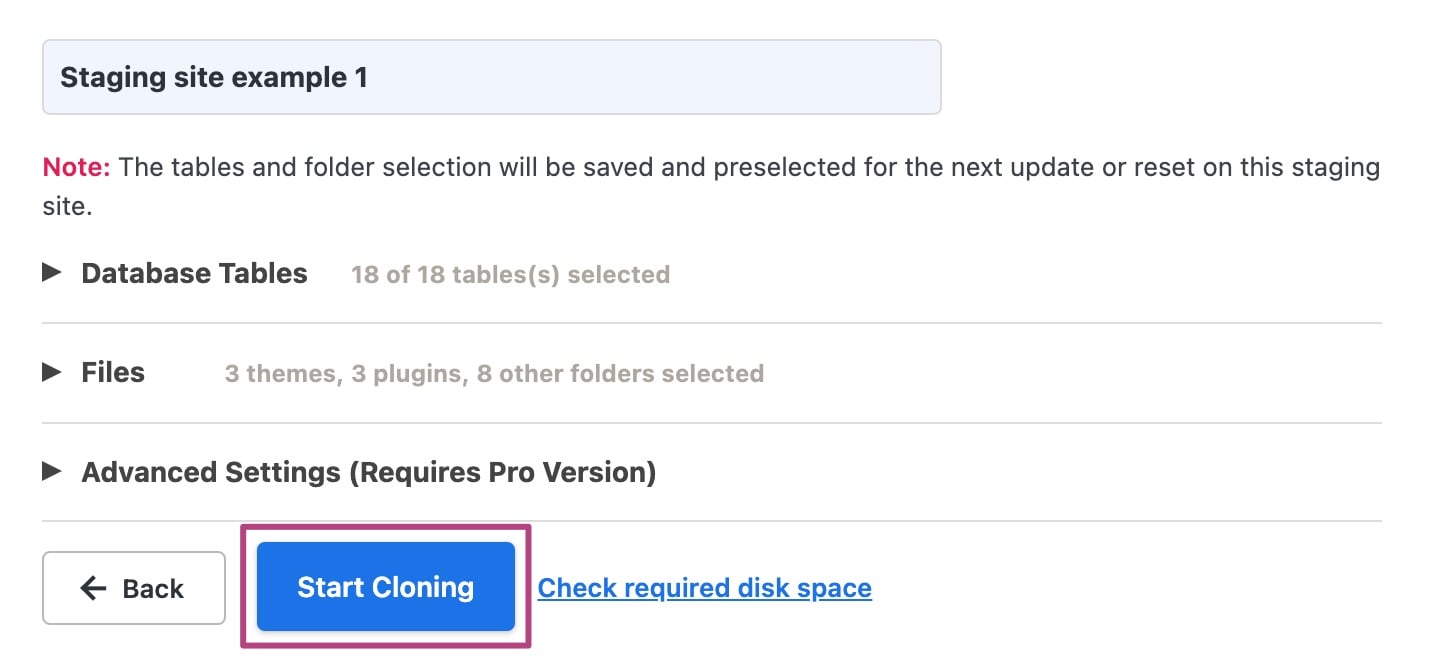
- Select what files you want to clone
Click Start cloning to copy files to your staging site.
- Go to your staging site and start testing
The login credentials are the same as for your regular site.
Get Yoast SEO Premium
Drive more traffic to your site. Use AI to save time doing SEO tasks. Make SEO easier. And get 24/7 support.
Includes Local SEO, Video SEO & News SEO.
Did this article answer your question?
Still having issues?
Try searching for your issue below